Geranium Bourbon: Fresh, floral, sweet

Geranium Bourbon diffuser blends 

Geranium Bourbon’s uplifting, rose-like aroma will make your home smell like a greenhouse in full bloom. While you can diffuse it on its own for its pleasant floral fragrance, it pairs especially well with citrus, floral, and woodsy oils.

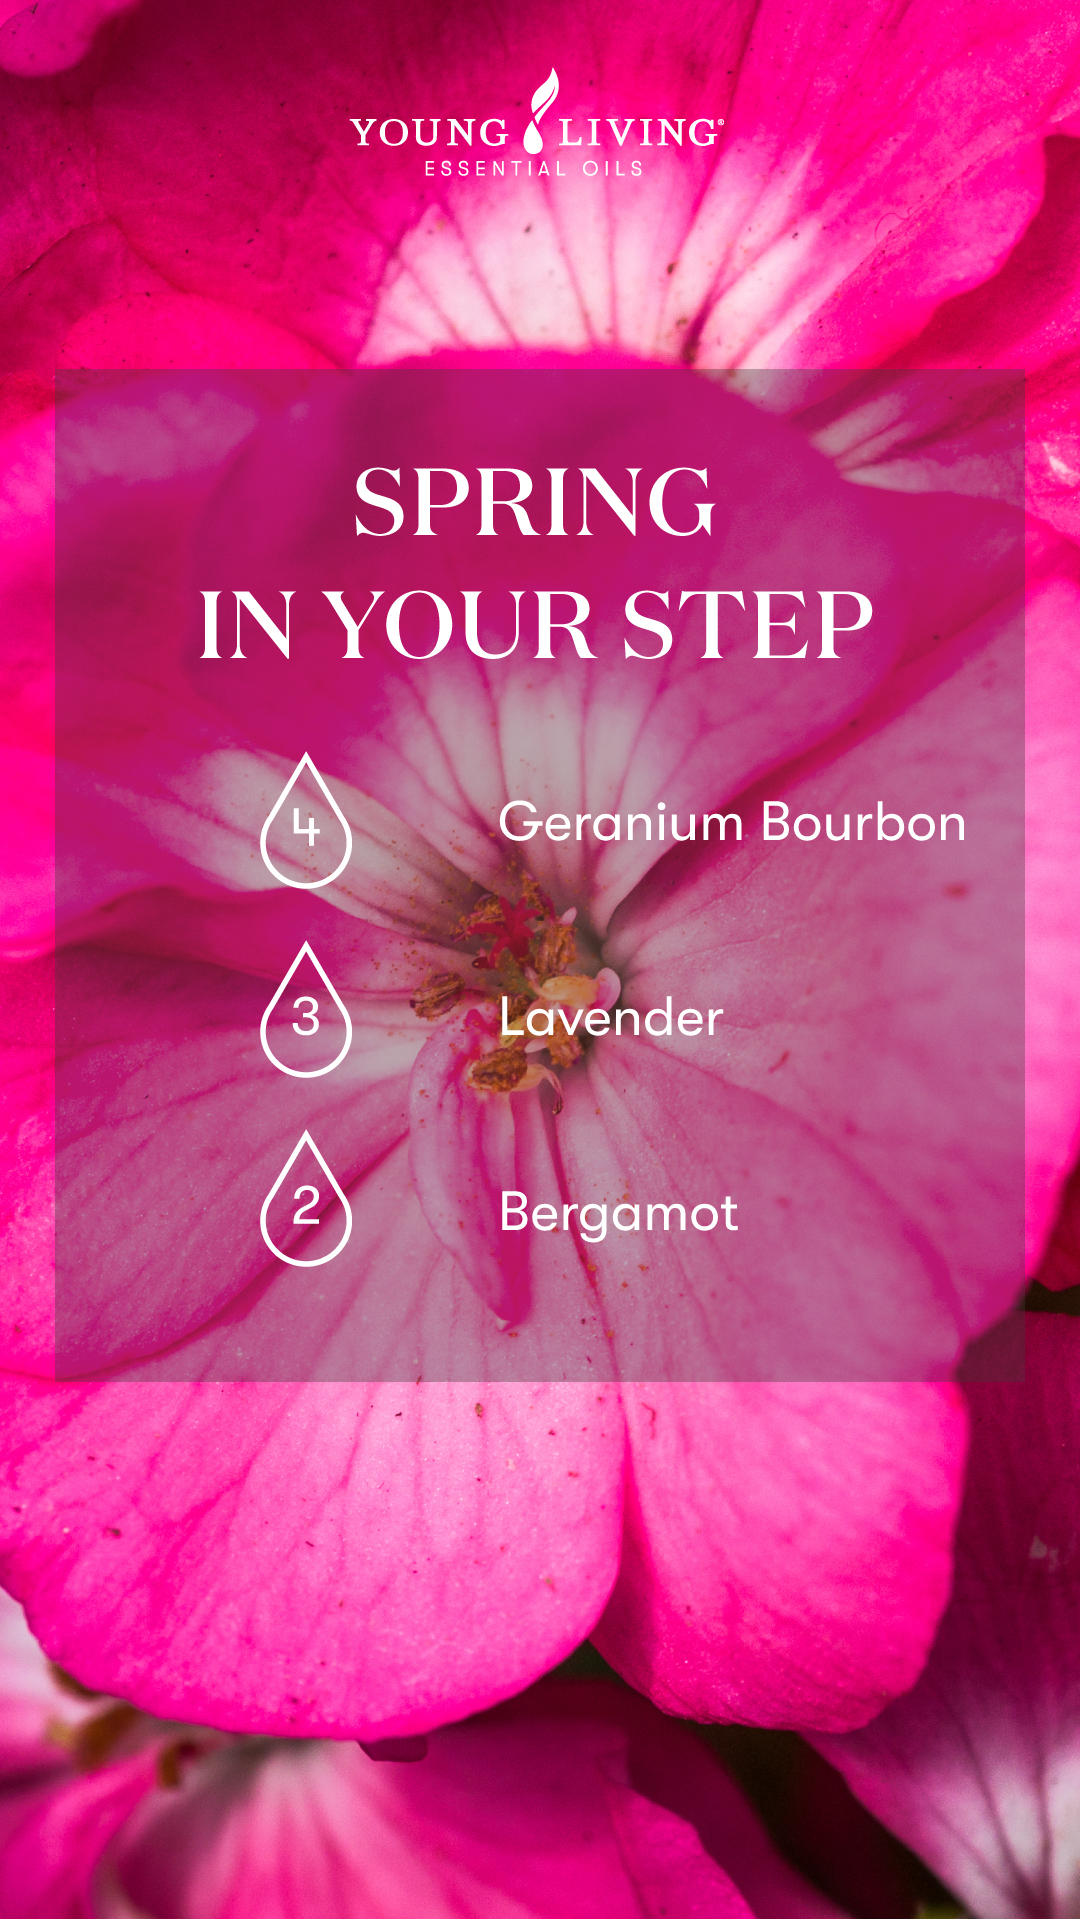
Spring in Your Step

In need of an aromatic pick-me-up? Diffuse lush Geranium Bourbon with the soothing scent of Lavender and bright notes of Bergamot for a cheerful combination to help you turn your day around.

  • 4 drops Geranium Bourbon essential oil
  • 3 drops Lavender essential oil
  • 2 drops Bergamot essential oil
Spring In Your Step diffuser blend - - 4 drops Geranium Bourbon essential oil 3 drops Lavender essential oil 2 drops Bergamot essential oil - Young Living Lavender Life Blog

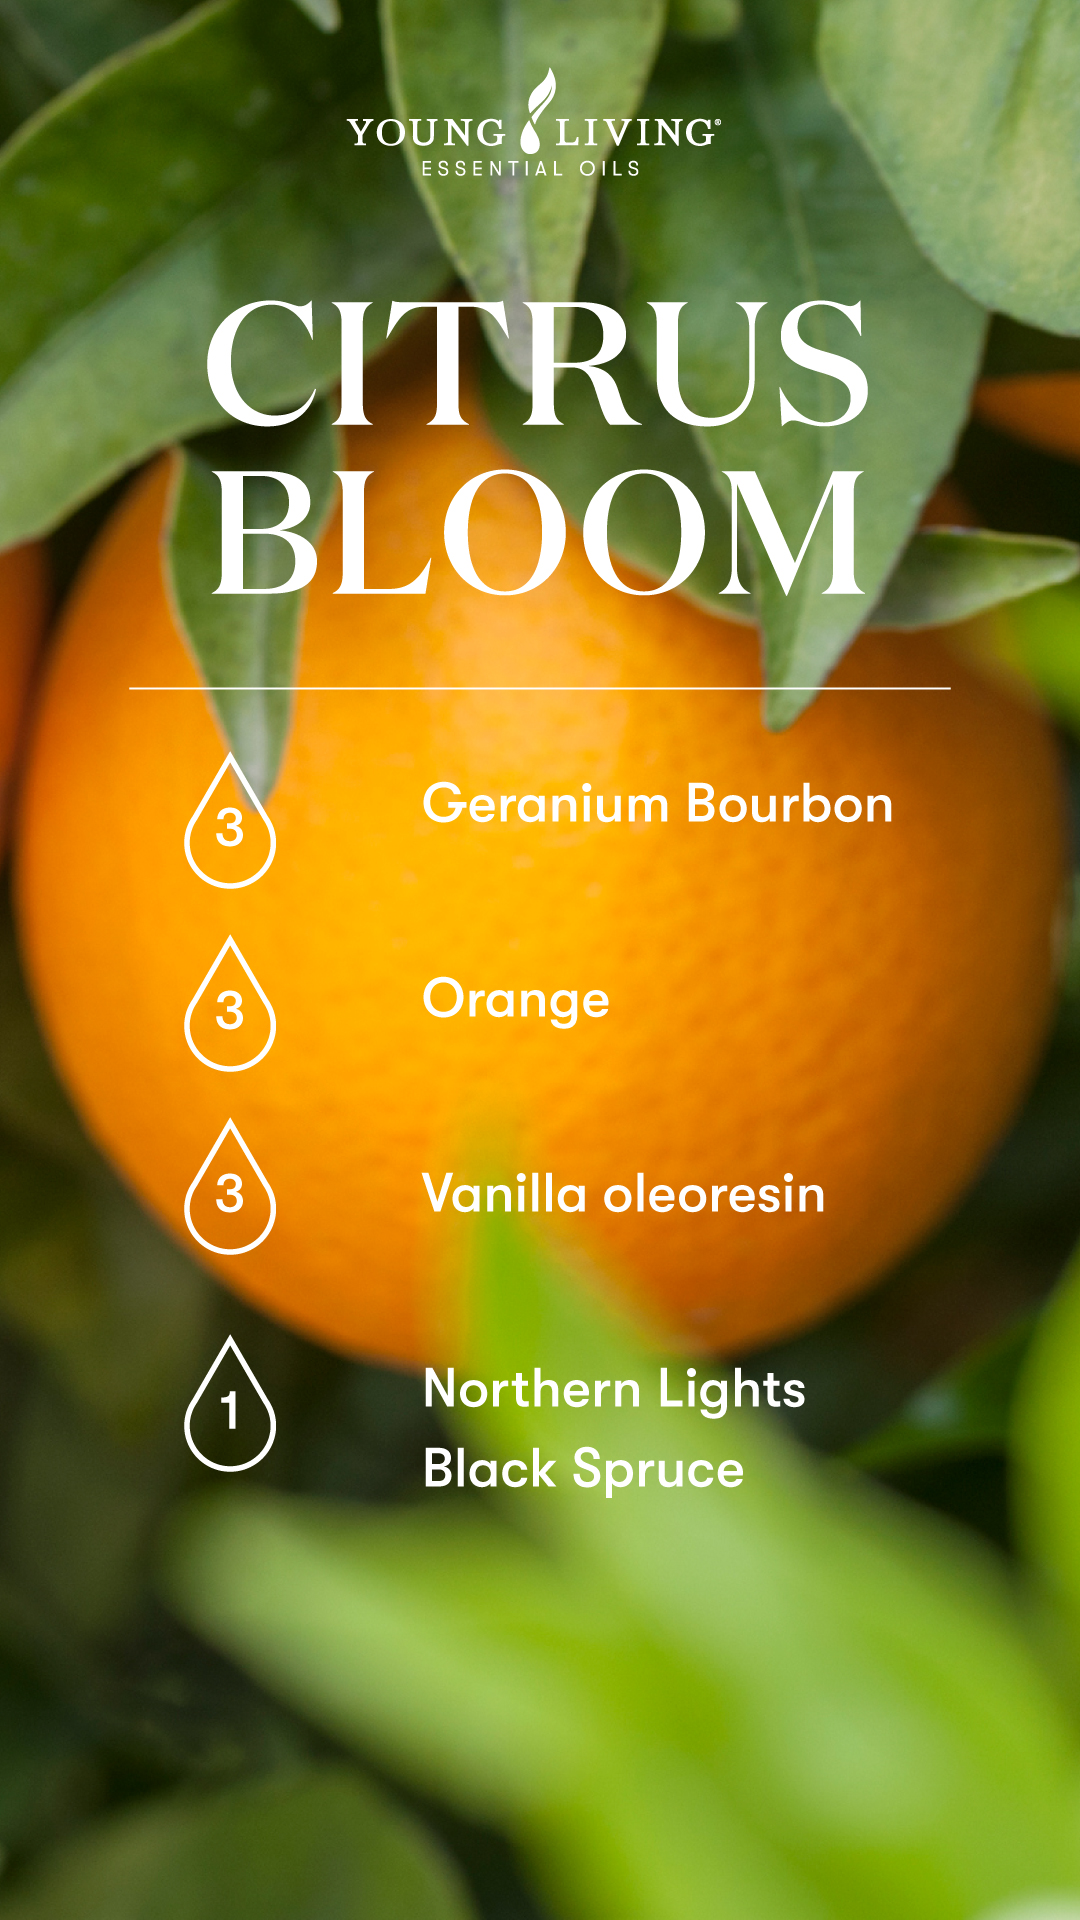
Citrus Bloom

Transport your senses to a blossoming citrus orchard with the delicate, floral aroma of Geranium Bourbon, sweet and citrusy Orange, luxurious Vanilla, and woodsy Northern Lights Black Spruce.

  • 3 drops Geranium Bourbon essential oil
  • 3 drops Orange essential oil
  • 3 drops Vanilla oleoresin
  • 1 drop Northern Lights Black Spruce essential oil
Citrus Bloom diffuser blend - 3 drops Geranium Bourbon essential oil 3 drops Orange essential oil 3 drops Vanilla oleoresin 1 drop Northern Lights Black Spruce essential oil - Young Living Lavender Life Blog

Skin care enhancer 

Looking for ways to enhance your hydrating skin care ritual? Add a few drops of Geranium Bourbon to your favorite face cream, essence, serum, or lotion for an enriched, natural glow.

We personally love adding this skin-loving essential oil to BLOOM™ by Young Living or ART® skin care products as part of a daily routine. These product lines contain other essential oils that give your skin the appearance of a gorgeous, dewy finish. Another bonus? They are made without common synthetics that can be found in other skin care brands.

Outdoor spray

Combine Geranium Bourbon with Citronella essential oil and water (or alcohol-free witch hazel) to make a wonderfully light and fresh outdoor spray. If your outdoor furniture cushions need a little refresh, simply spritz this all over them and you’re good to go!

Hair perfume

Never heard of hair perfume before? You’re missing out! Hair perfume not only keeps your hair smelling clean and fresh but can also help to nourish your strands. Try this recipe for shiny, healthy-looking hair that smells irresistibly sweet and floral.

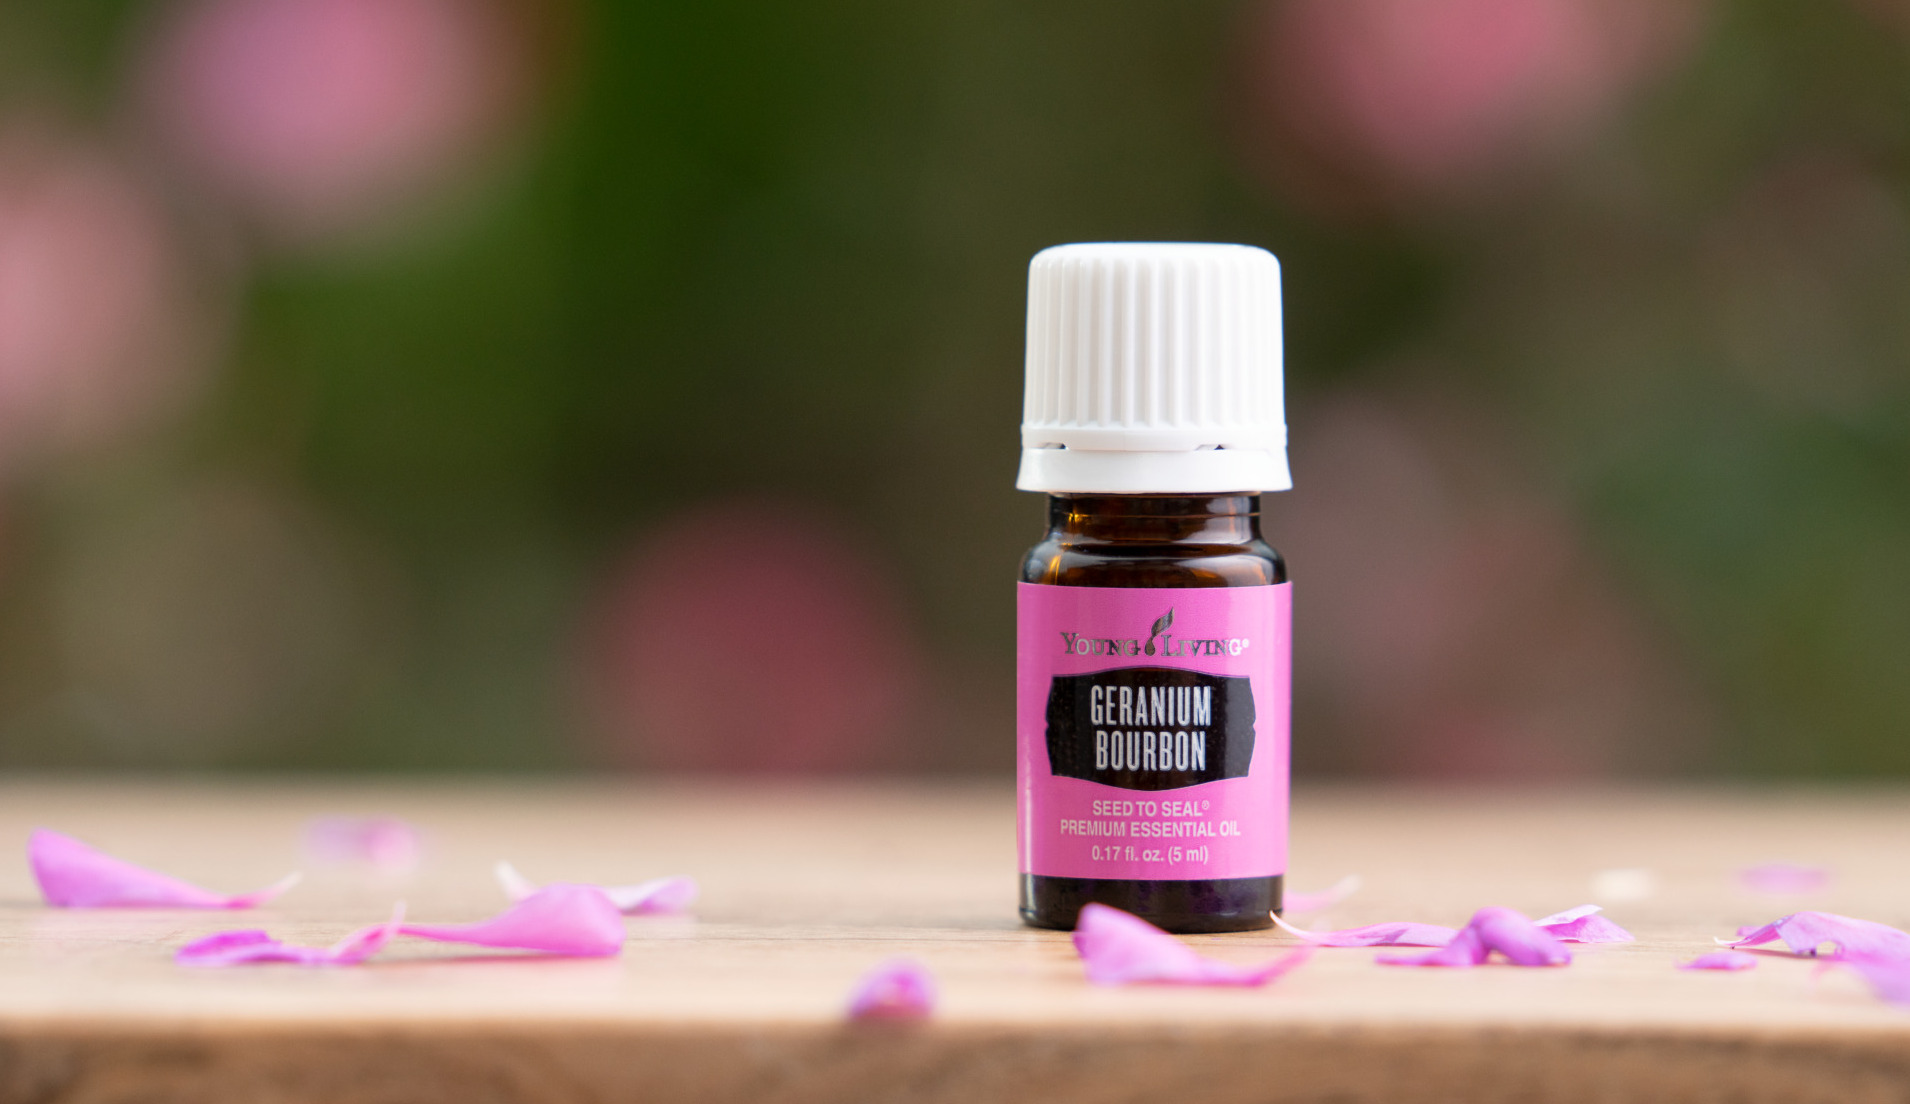
Geranium Bourbon Essential Oil sitting next to flower petals - Young Living Lavender Life Blog

What you’ll need:

  • 8-ounce spray bottle
  • Rose water or distilled water
  • 1 tablespoon argan or jojoba oil (if you don’t want to use a hair oil, substitute with 100 percent aloe vera gel)
  • 5 drops Geranium Bourbon essential oil
  • 3 drops Orange essential oil
  • 3 drops Vanilla oleoresin
  • 2 drops Bergamot essential oil

Instructions:

  • Add oils into spray bottle.
  • Top off with rose water or distilled water.
  • Shake mixture and spritz lightly onto dry hair.

YL tip: Not interested in using perfume on your hair? Make your own roller perfume instead by adding Geranium Bourbon, Orange, Vanilla, and Bergamot to a 10 ml roller bottle and topping off with V-6™ Vegetable Oil Complex. We recommend using the same number of drops as above, but feel free to adjust the amount to your scent preference.

Want more ways to incorporate floral oils into your everyday life? Read this blog post for 30 tried-and-true tips.

What is your favorite way to use Geranium Bourbon?

Tell us in the comments below!

Source link

Source: https://www.flyingtrav.com/health/geranium-bourbon-fresh-floral-sweet/

Warm Winter Squash Bowl | The Full Helping

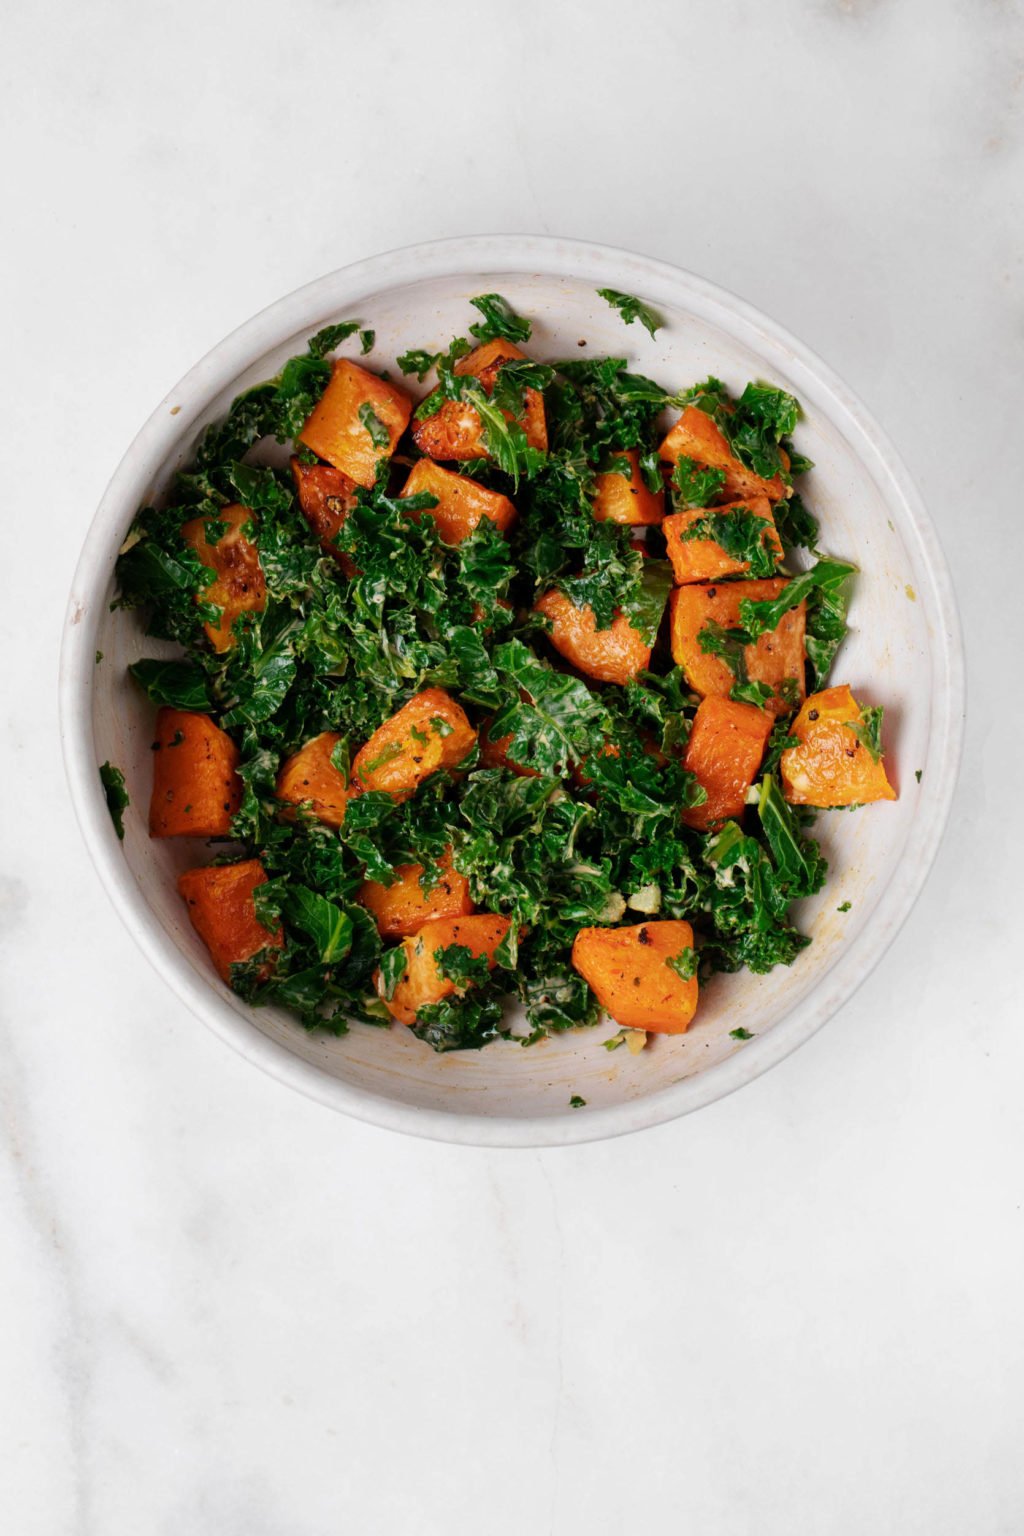
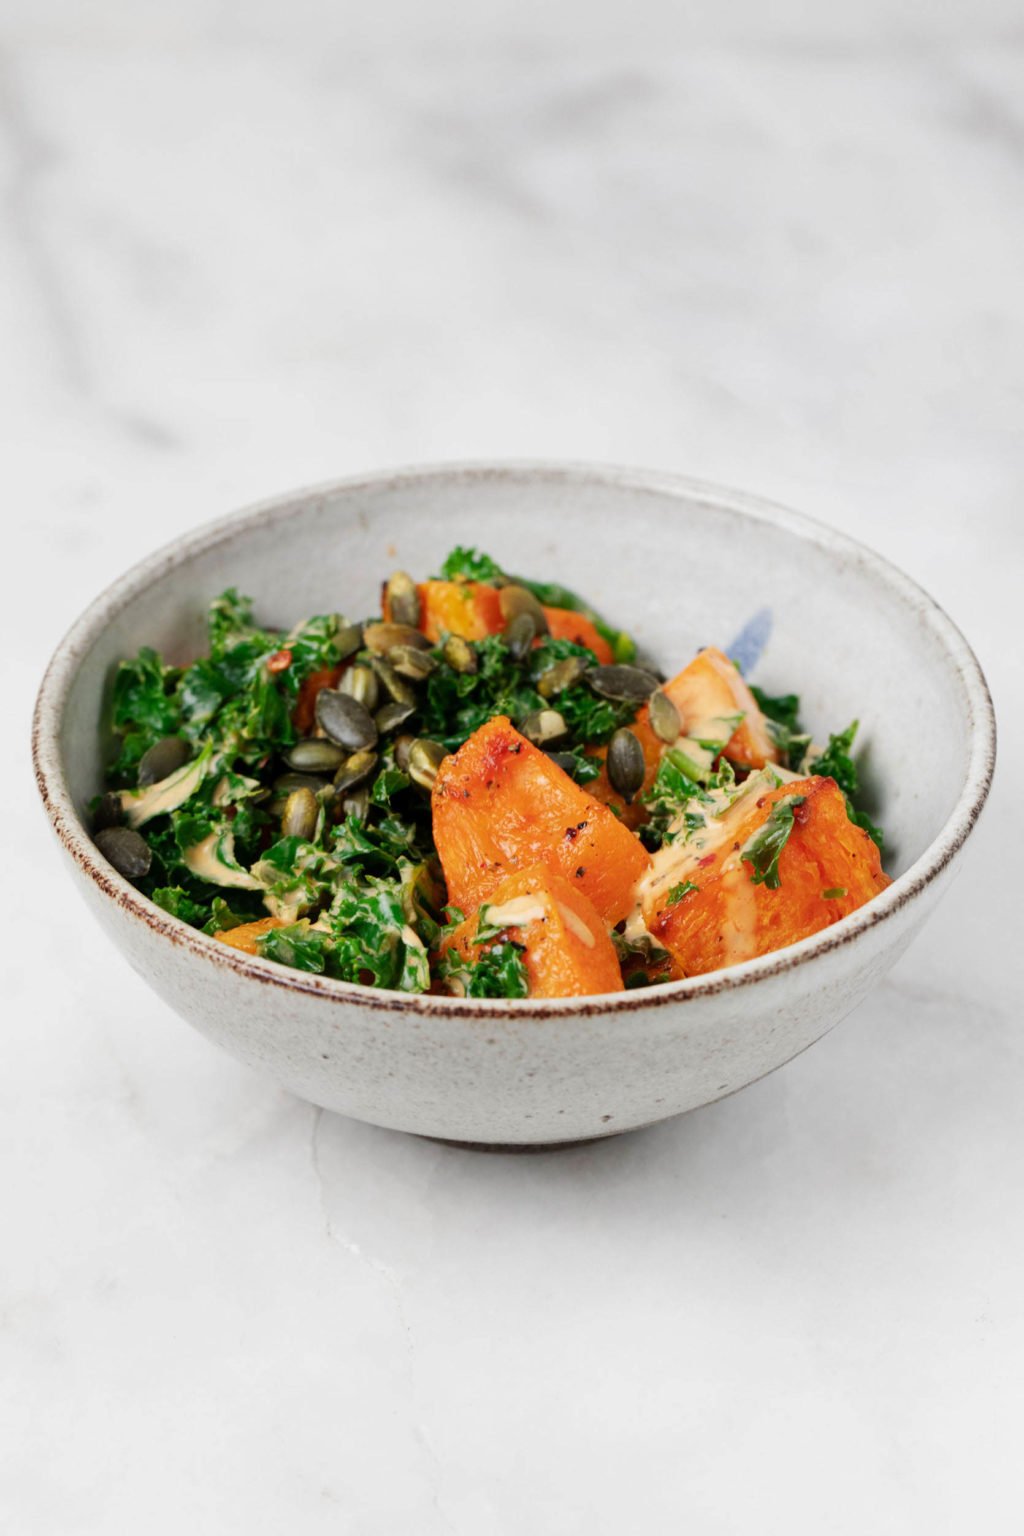
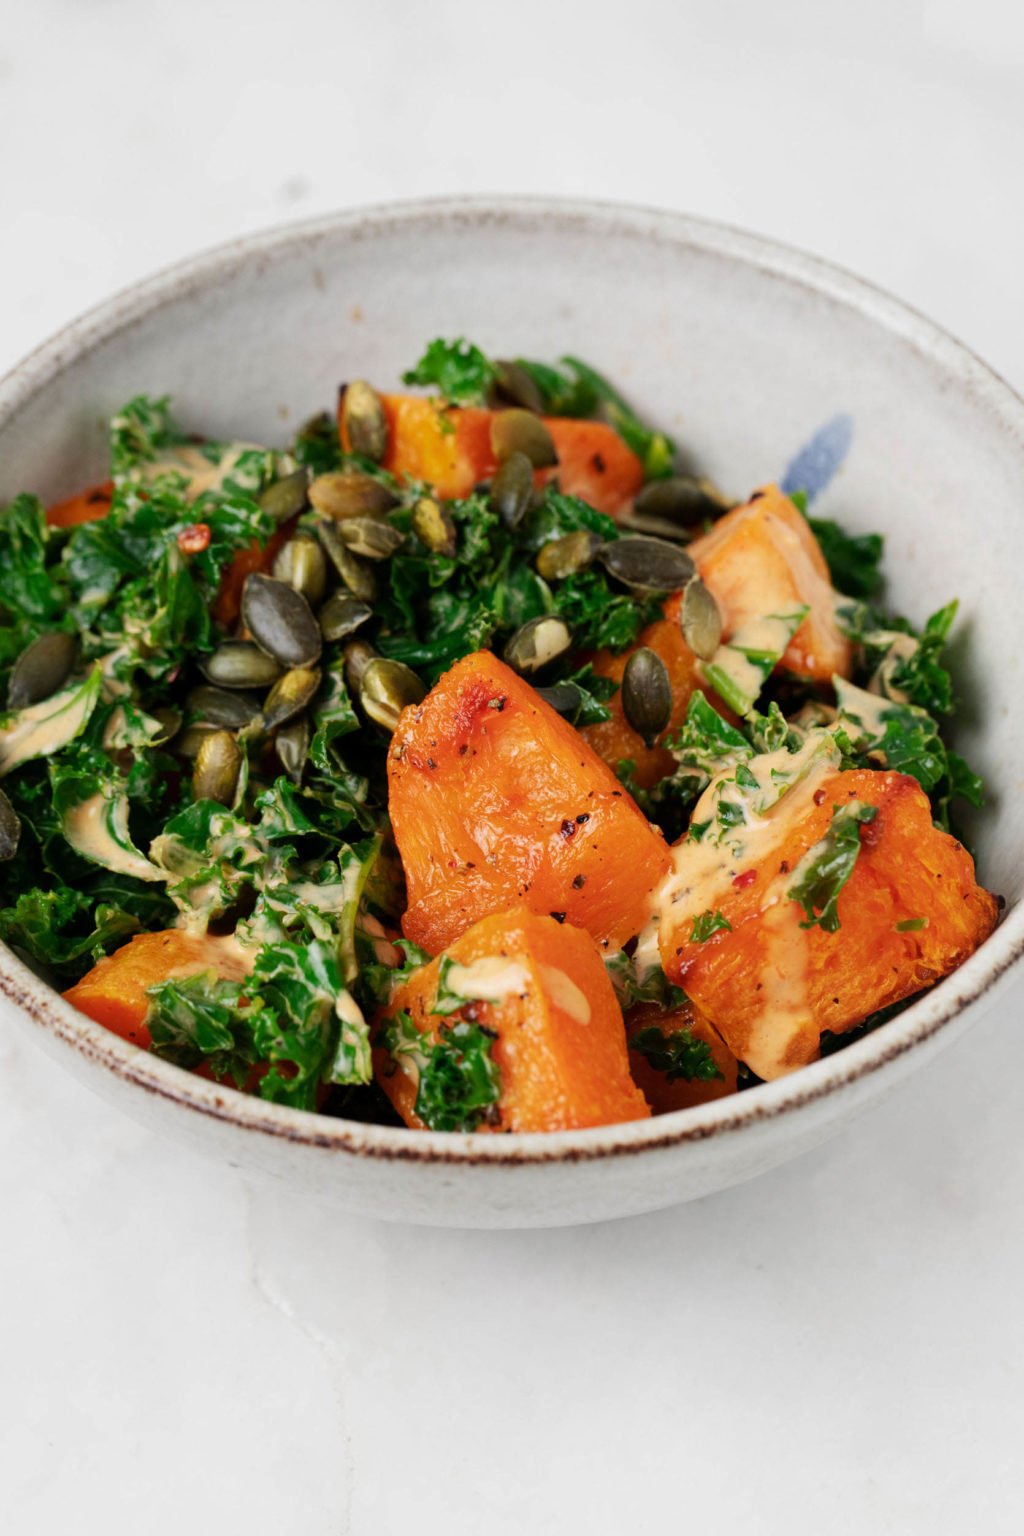
This warm winter squash bowl is grounding, nourishing, and wholesome. It combines sweet, roasted winter squash with gently steamed kale and a slightly spicy harissa tahini dressing.

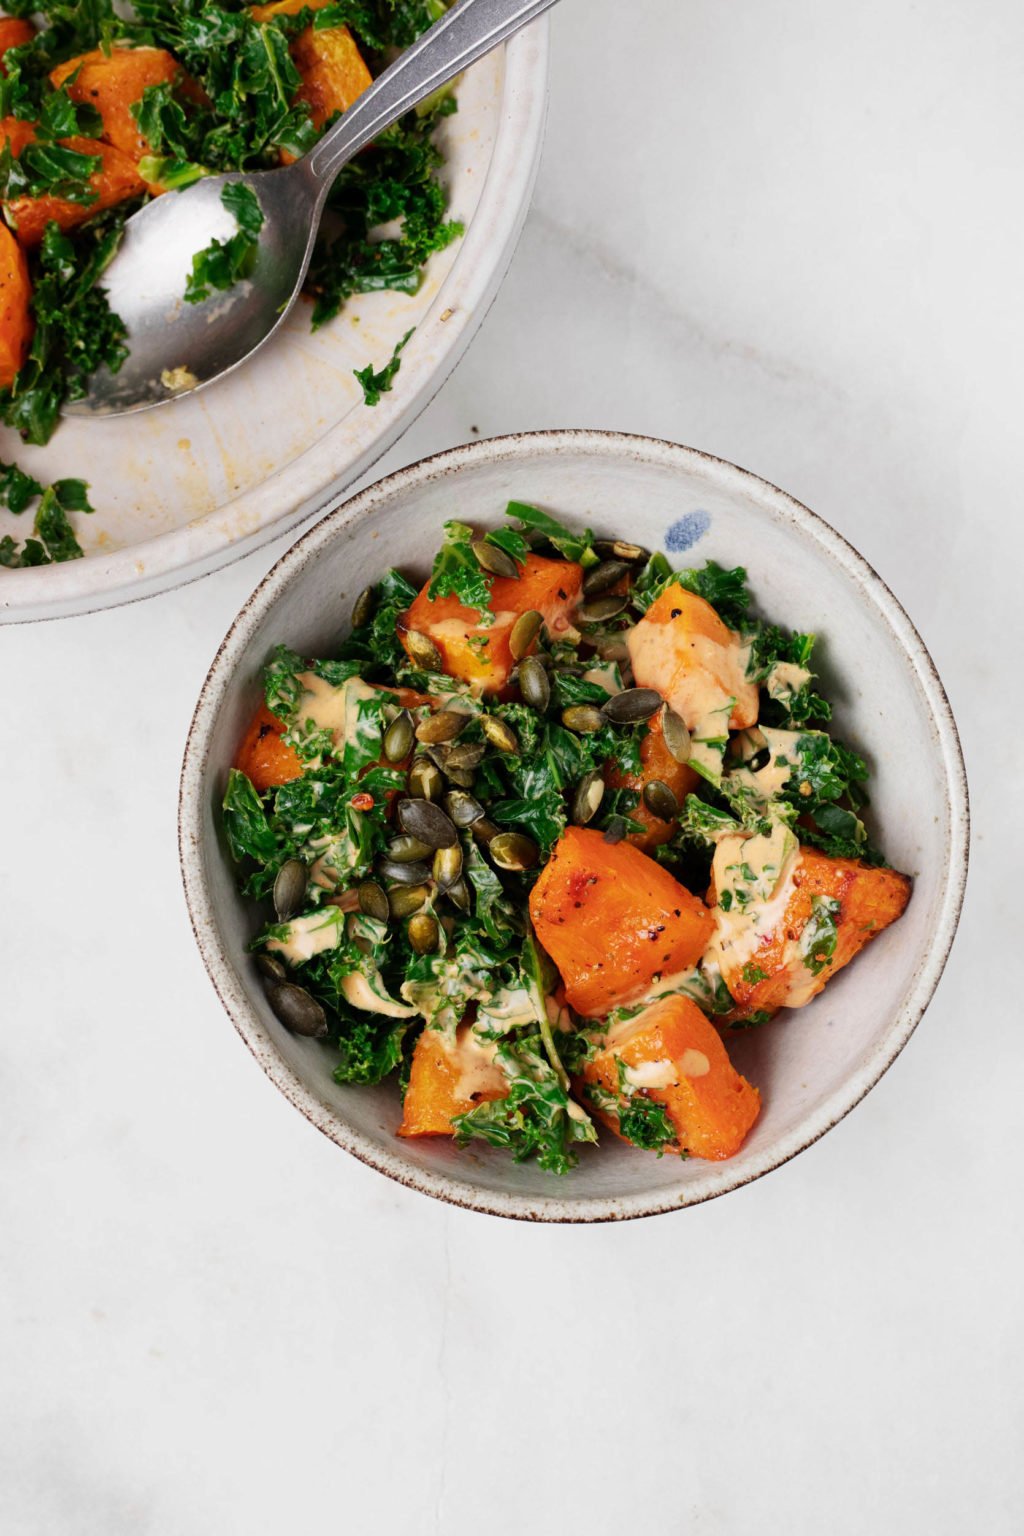
Two bowls of warm winter squash and steamed kale rest on a white marble surface.Two bowls of warm winter squash and steamed kale rest on a white marble surface.

Here we are, perched on the cusp of spring. But as is always the case where I live at this time of year, we’re flirting with a few spring-like days while also having a foot firmly planted in winter.

I know it’s an unpopular opinion, but I don’t hate winter one bit. Right now I’m actually savoring the last month of chilly days and the warm, grounding food they encourage.

This warm winter squash bowl is a perfect example of the cozy, nourishing stuff I’ve been enjoying lately. On its own, it can be a simple, yet filling lunch. You can also make it more of a power plate by adding chickpeas, tofu, tempeh, or another vegan protein that you love.

I really like the variety of tastes in this bowl. The squash is sweet and earthy, the kale is a little bitter. The pumpkin seeds are nutty, and the tahini dressing has a bit of heat, thanks to the addition of harissa.

All in all, the ingredients add up to something that’s greater than the sum of its parts. I love to eat nearly all of the things in this bowl, but I especially love them together.

How to make a warm winter squash bowl

There are a few components to prepare for this recipe, but none of the steps in making it are overly laborious.

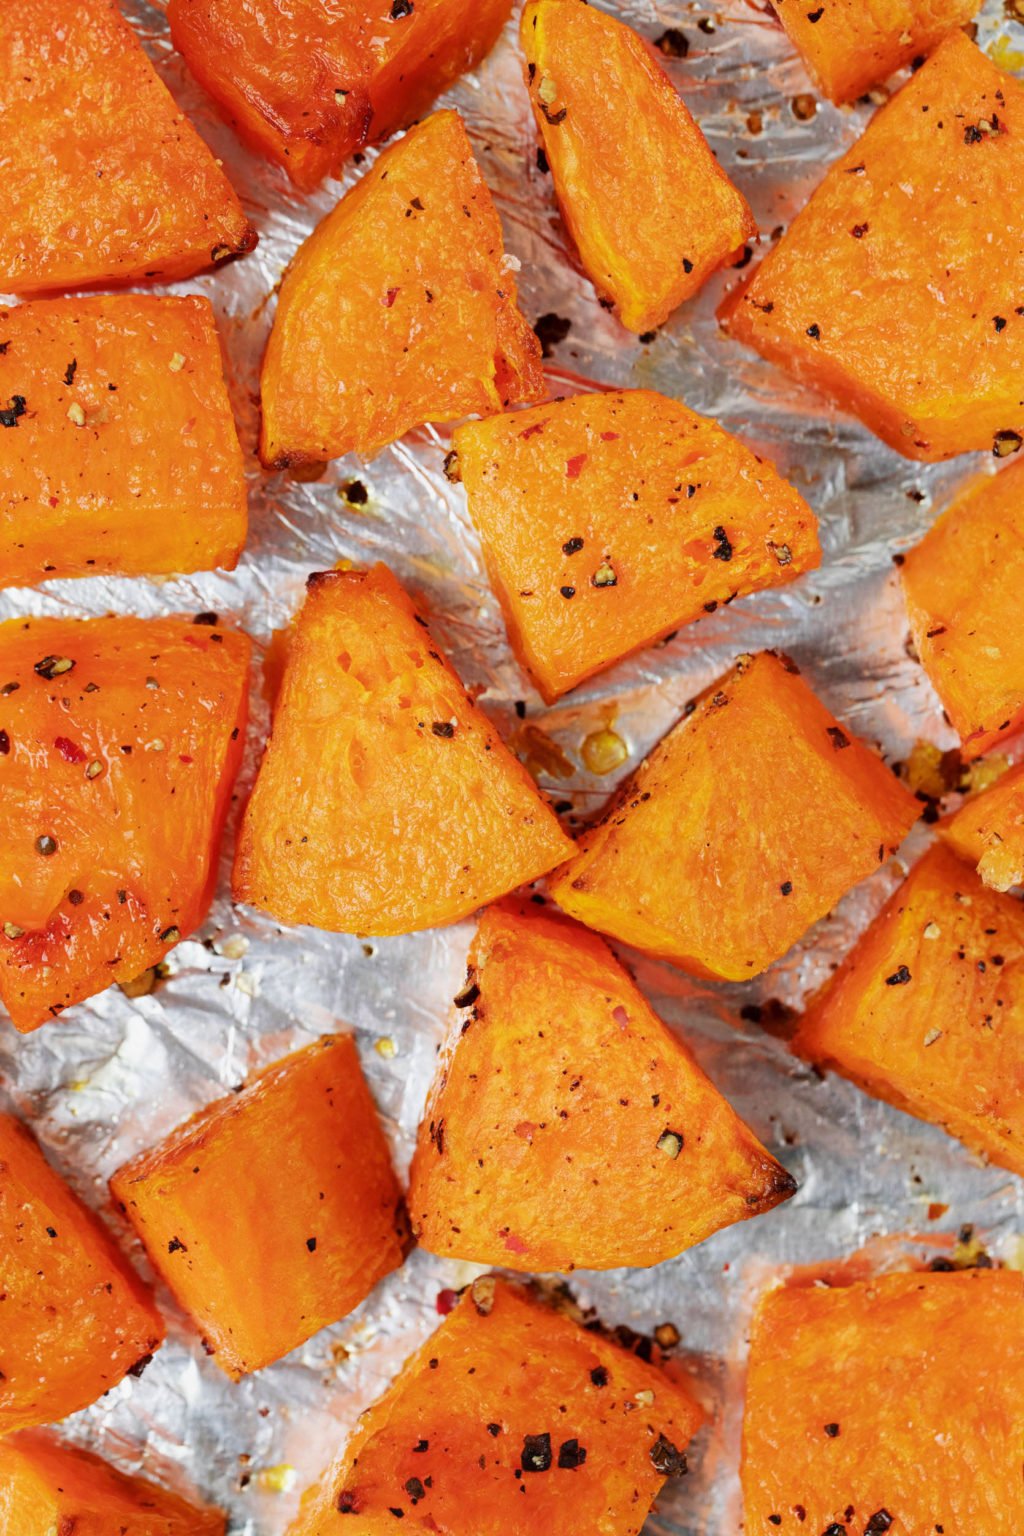
A foil lined baking sheet is covered in roasted pieces of winter squash.A foil lined baking sheet is covered in roasted pieces of winter squash.

You’ll begin by roasting sweet, bright orange winter squash cubes. I do this simply, with avocado oil, salt, and pepper.

Be sure to space the squash cubes in a single, even layer on your baking sheet. If they’re too close, they won’t crisp up nicely along their edges in the oven—and that’s part of the beauty of roasted vegetables.

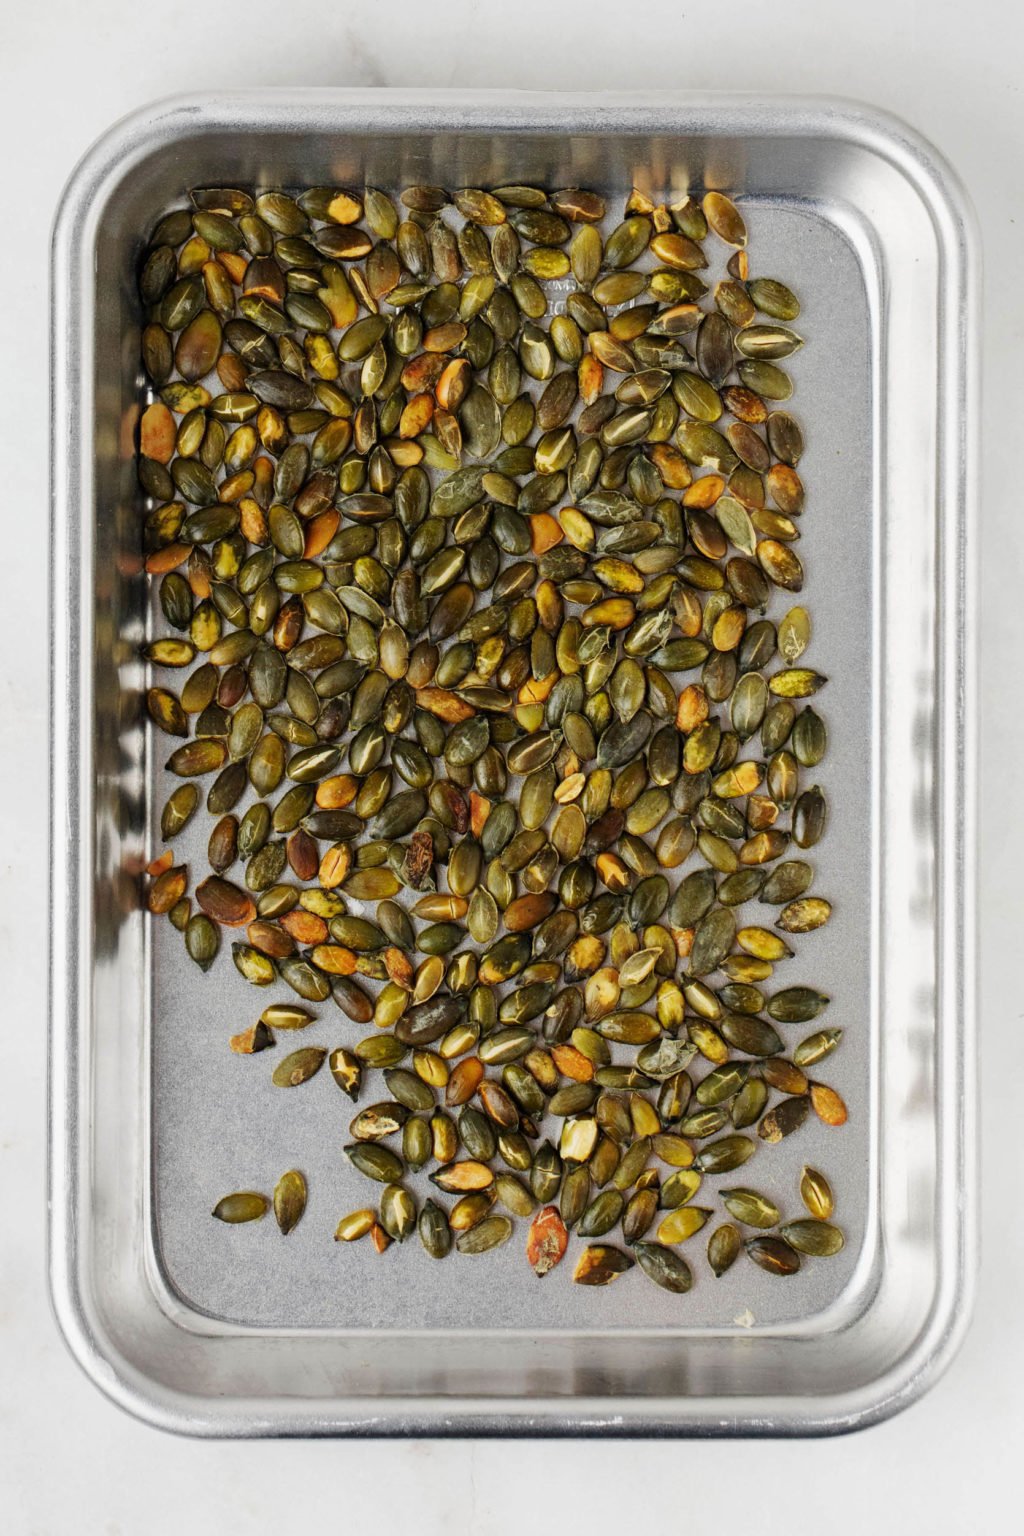
Toward the end of the squash’s roasting time, you’ll put some pepitas (or another seed) on another, rimmed baking sheet. You’ll pop them into the oven to toast for about 5 minutes, or until they smell nutty and have darkened in color a little.

A rimmed baking sheet has been used to roast pepitas.A rimmed baking sheet has been used to roast pepitas.

You can coat the seeds in oil and sprinkle them with salt and pepper, if you like. I really like the bitter, nutty flavor of toasted pepitas, and I find that I can taste it more when I leave the seeds unadorned. It’s totally up to you.

In the meantime, while the squash cooks, you’ll steam some kale, which is the other starring ingredient in the squash bowl. You can use curly or Lacinato kale. If there’s another dark, leafy green that you prefer, you can feel free to substitute it in the recipe.

The other step you’ll take while the squash roasts is to whisk together a harissa tahini dressing. I’ve been adding harissa to a few dressings lately, and I love its subtle heat.

Keep in mind that harissa brands do vary in their level of spiciness, so you should adjust the amount depending on what you have and your preference.

After all this is taken care of, you’ll assemble the squash bowls by layering ingredients together. Grab a fork, dig in, and enjoy.

A white, ceramic bowl is filled with steamed kale and vegetables.A white, ceramic bowl is filled with steamed kale and vegetables.

What type of winter squash should I use?

These squash bowls were originally inspired by a menu item at The Hi Hi Room, in Brooklyn. It featured a few different types of roasted winter squash, and I’d invite you to also use a variety here, if you like.

I’ve made the recipe with combinations of butternut squash, acorn squash, kabocha squash, and delicata squash. I’m sure that other winter squash varieties, including red kuri, honeynut, and sweet dumpling, would work, too.

You can choose to use a single type of squash, or you can use a combination of two or more, as I usually do.

Serving suggestions

There’s something lovely about the simplicity of the squash bowl, all on its own. But as most longtime readers know—and my nutrition clients know all too well!—I’m big on emphasizing plant protein in meals.

So, you have my full encouragement if you’d like to bump up the protein in this recipe by adding your favorite plant-based source. Here are some options:

Other additions that might be fun here:

Meal prep & storage

Pretty much every component of the winter squash bowl can be made ahead of time:

  • The winter squash can be roasted a few days prior to bowl assembly.
  • You can toast the pepitas and store them in the fridge for up to a week.
  • Kale can be steamed 1-2 days before you make the bowls.
  • The harissa tahini dressing will keep in an airtight container in the fridge for up to one week.

I like to store components of the winter squash bowls in separate, airtight containers in the fridge, layering and assembling right before I eat. However, you can also store a prepared and dressed bowl in an airtight container in the fridge for up to 2 days.

A white and grey ceramic bowl has been filled with steamed and roasted vegetables, along with toasted pepitas. It rests on a marble surface.A white and grey ceramic bowl has been filled with steamed and roasted vegetables, along with toasted pepitas. It rests on a marble surface.
Two bowls of warm winter squash and steamed kale rest on a white marble surface.

Prep Time: 20 minutes

Cook Time: 30 minutes

Total Time: 50 minutes

Yields: 4 servings

For the bowls

  • 2 1/2 lb winter squash of choice (I like to use a mix of acorn, butternut, and delicata), cut into 3/4-1 inch cubes (about heaping 8 cups)
  • 2 tablespoons avocado oil
  • 1/4 cup pepitas, pine nuts, or shelled sunflower seeds
  • Kosher salt and freshly ground black pepper
  • 1 bunch curly or Lacinato kale, stemmed and chopped

For the harissa tahini dressing

  • 1/4 cup tahini
  • 1 tablespoon harissa (adjust the amount to suit your preferred level of heat)
  • 1 clove garlic, minced or grated on a microplane
  • 1/4 + 1/8 teaspoon fine sea salt
  • 2 tablespoons freshly squeezed lemon juice
  • 1/2 teaspoon ground cumin
  • 1/4 teaspoon ground coriander
  • 1/4 teaspoon smoked paprika
  • 2-4 tablespoons water, to thin
  • Preheat your oven to 400F and line a baking sheet with foil or parchment. Spread the squash in an even, single layer on the sheet. Drizzle the avocado oil over the squash and mix it with your hands to coat. Sprinkle the squash generously with salt and pepper. Transfer the squash to the oven. Roast the squash for 30 minutes, stirring the pieces on the sheet halfway through roasting, or until the squash pieces are turning golden at the ends and tender. 

  • Line another baking sheet with parchment. In the last 5 minutes of the squash’s roasting time, place your seeds of choice on to the second baking sheet and transfer the seeds to the oven to toast. They should toast in 5-7 minutes; the aim is for them to be just golden, as they’ll continue to cook for a few minutes after you remove them from heat. 

  • While the squash cooks, fit a pot of boiling water with a steamer attachment. Steam the kale for 3 minutes, or until it’s just tender. Remove the kale from heat. 

  • Whisk the harissa tahini ingredients together, starting with 2 tablespoons of water. Continue adding just enough water as needed to create a thick, yet pourable dressing.

  • To serve right away, transfer the roasted squash to a mixing bowl. Add the steamed kale. Pour about 1/4-1/3 cup of the dressing over the ingredients and fold everything together gently. Divide the squash and kale mixture into bowls. Top with the toasted seeds and an extra drizzle of the dressing right before serving. Alternatively, you can store the separate components in airtight containers in the fridge, and assemble them into bowls when ready.

A serving of warm winter vegetables and steamed kale has been topped with toasted pepitas and a creamy dressing.A serving of warm winter vegetables and steamed kale has been topped with toasted pepitas and a creamy dressing.

Speaking of winter and spring, cold and warmth, I actually happen to have escaped for a few days to Florida this week. I’m with my best friend and her family, and while I delayed the decision to come here—I was too swamped with work, too down, too tired, I told myself—I’m so happy that I got away.

More on that this weekend, though. For now, I hope you’ll enjoy this tasty, nutrient-rich, flavorful little bowl as much as I do.

xo

Source link

Source: https://www.flyingtrav.com/health/warm-winter-squash-bowl-the-full-helping/

The science behind aromatherapy | Young Living Blog

Simply stated, when a smell arrives at the limbic system, the brain releases unique neurochemicals, triggering a variety of reactions. This is because the limbic system’s structures can affect mood, memory, cognition, behavior, and emotion. Let’s explore some of those structures:

You’ve probably heard the word amygdala before, but do you remember what it is? Found in the brain’s complex limbic system, the amygdala is an almond-shaped mass that deals with emotional responses, especially negative ones like fear and disgust. Think of it as a lighthouse keeper that’s sending out warnings when dangerous situations arise. It also helps secrete hormones and regulate memories.

Another key part of the limbic system is called the hippocampus. This tiny nub is like the librarian of our brain. It indexes, files, and retrieves our memories (probably while wearing a tiny sweater vest!). It also helps to form long- and short-term memories.

The hypothalamus is another helpful figure in our limbic system. This part of our brain is the engineer that keeps many of our systems running. Body temperature? The hypothalamus is on it! Sleep regulation? It’s got your back. Metabolism, adrenaline, and hormones are also part of its job description. It’s an important emotional center, controlling the molecules that make you feel exhilarated, angry, or unhappy. Some even consider this little guy the epicenter of the mind/body connection!

Imagine all those powerful parts of the brain working together to process a scent—maybe it’s freshly baked bread or newly cut grass. This is why smell can trigger long-forgotten experiences in an instant. In fact, several studies have shown that smells trigger more intense and vivid emotional memories than pictures. This is why the science behind aromatherapy is so powerful: Our brains are doing a million complex, powerful, amazing things with scent every day!

How to use essential oils for aromatherapy

That’s it for science class for today. Don’t worry if you lost the flash cards because the key takeaway is simple: Scent is powerful! It affects the limbic system of the brain in all types of ways. Mood, memory, cognition, emotion, and behavior are all affected. That’s all the aromatherapy science we really need to get started.

So which scent do you want to start with? Earthy oils, woodsy oils, fruity oils, minty oils, floral oils—we’ve got it all! There are also spicy oils, citrusy oils, resinous oils, camphoraceous oils, and herbaceous oils. Because we all have different emotions and memories, each of these oils will have a slightly different effect for each person. However, each of these scent types generally offers the following benefits and influences:

Earthy oils are often considered grounding, stabilizing, calming, and sustaining. Vetiver is an earthy oil, and it’s commonly diffused at bedtime to fill a room with a restful scent.

Woodsy oils have scents that are often thought to have qualities that are centering, steadying, strengthening, and empowering. Northern Lights Black Spruce is a great example of a woodsy oil that’s popular to use during a meditation session.

Source link

Source: https://www.flyingtrav.com/health/the-science-behind-aromatherapy-young-living-blog/

Top Tips to Start a Career in Nursing

Career in nursing

If it’s your dream to become a nurse – or you simply want a change of career – this guide has all the tips you need. Read carefully, as you won’t want to miss a detail.

Around the world, there is estimated to be just under 28 million nurses. These nurses account for around 50% of all healthcare professionals, which shows just how important nurses are to the health of the global population.

Naturally, many women and men want to become nurses (notably, 12% of registered nurses in the US are now men!). There are many reasons why nursing is an exciting career path to take, some of which include:

  • You contribute to the wellbeing of people
  • You’ll be an expert in your field
  • The salary is good

Of course, this is barely scratching the surface, as there are lots more benefits that come with being a nurse. It’s also worth noting that there is a huge spotlight on nursing at the moment due to the recent global pandemic, which has led to nurses being held in much higher regard than they were prior to 2020. Without a doubt, nursing is one of the most respectable career paths that you can now take.

However, you can’t magically become a nurse overnight, as it’s a very serious profession. Instead, you need to take a significant number of steps to get to where you want to be – and this guide is going to help you.

Keep reading for some top tips on how to become a successful nurse.

Decide Where You Want to Study

Since the beginning of 2020, the world of education and study had changed a lot.

Now, many universities are offering remote study courses, whilst open universities have also become incredibly popular with mature adults.

Therefore, you will need to decide where you want to study and on what basis (i.e., full-time or part-time).

For example, if you’re a young person between the ages of 17 and 18, you will likely want to move to another city and experience the student lifestyle – which is completely understandable. Plus, nearly all universities across the country now offer nursing courses, so there’s nothing to worry about in that regard.

However, if you’re an older and more mature adult (who perhaps works part-time or has family commitments), then you likely won’t be able to start a university nursing degree on a full-time basis. Instead, it might be easier and more convenient for you to join an open university and study nursing from home in your free time. This way, you can attend to your other commitments without having to make drastic lifestyle changes.

Whilst studying nursing, you will generally focus on areas such as technology, theory, and support – but all of these topics are capable of being studied from home or remotely. With this in mind, there’s no need to worry about putting yourself at a disadvantage if you study remotely – as this simply won’t be the case.

ADN vs BSN – An Important Choice You Need to Make

To start your career, you need to become a registered nurse (RN). Like most things in life, this is something you will have to study for!

At the start of your nursing journey, you will often need to choose between an Associate’s Degree in Nursing (AND) and a Bachelor’s of Science in Nursing (BSN). It’s important to note that this is quite possibly the most important decision you will have to make, as the pay and overall career outlook you receive will be dependent on your choice. Learn more about ADN vs. BSN options.

There are other degree choices when it comes to nursing, but these are two of the most common and sought-after ones – which is something to bear in mind.

Think About What Type of Nurse You Want to Be

As you probably know already, there are many different types of nurses that come with varying roles and responsibilities. For example, after becoming a registered nurse, you might want to become an advanced practice registered nurse (APRN), which is an incredibly popular choice that nurses make to further their careers. APRN nurses are master-level nurses who might provide care on an independent basis or in collaboration with a registered physician. In some circumstances, APRN nurses can even prescribe certain medications – although this is entirely dependent on their license.

Hospitals, Schools, Nursing Homes – Choose What’s Best for You!

One of the best parts about being a nurse is that you have a lot of freedom when it comes to choosing where you work. Some nurses choose to work in nursing homes, whilst others choose to be on the front line in hospitals where they deal with large numbers of patients on a daily basis.

Here are some common locations where you can work:

  • Doctor’s offices
  • Hospitals
  • Private healthcare
  • Schools and universities
  • Outpatient clinics

The choice you make should be based on your personality and career goals.

For example, if you’re someone who really enjoys working with children, then working in a children’s ward at a hospital or being a school nurse would likely be an excellent choice for you.

Or, if you want to work in your local community and build a strong rapport with patients, then perhaps a doctor’s office will appeal to you more.

Generally, it’s a good idea to visit these settings and speak to the nurses in-person to get a genuine feel for what it’s like. Registered nurses can give you further guidance whilst telling you about all the ins and outs you can expect from their particular settings.

Develop your Existing Skills

On your journey to becoming a nurse, it’s highly recommended that you focus on developing your existing skills, such as:

  • Communication
  • Confidence
  • Empathy
  • Teamwork
  • Critical thinking

Remember, being a nurse is a very rewarding yet demanding job. This means that you need to be at the top of your game all the time – after all, patients are relying on you to take care of them and make them feel relaxed.

By developing the above-mentioned skills, you will give yourself a much better shot at being a successful nurse who can then make positive career progression.

If you enter the world of nursing with a degree but limited real-world skills, then you might struggle. This is why it’s so important to combine the two together.

Get Volunteer Experience

Whilst studying for nursing degrees, many students like to get volunteer experience via hospitals, schools, and other institutions. In some circumstances, universities will set students up on work experience programs, which will typically involve them spending a couple of days a week in a real working location as part of their degrees.

This is great – as being a successful nurse is all about practical application. Once you start to get real experience prior to graduating, it puts you in a stronger position prior to the official start of your career.

Find the Right Employer Once You’re Qualified

After getting your credentials, you’ll be within touching distance of being a full-time nurse. All you will have to do next is find an employer – which is the most important step of them all.

In the modern age, nurses are in high demand due to a national shortage. This is good news for the actual nurses, as it means you have a greater chance of finding an employer you like.

To do this, it’s recommended that you:

  • Create a LinkedIn account and connect with healthcare professionals
  • Join local healthcare sites to search for openings
  • Apply directly to hospitals, schools, and other institutions where nursing demand is high

You will have to go through an interview process, which is where you will need to demonstrate your personality and that you have all the relevant skills required for such a demanding role!

Also, prior to sending out applications, it’s recommended that you modernize your résumé and reference all the experience you have in the field.

Lastly, Be Persistent!

As mentioned earlier, nursing is an excellent career path to take – but it also comes with challenges.

Over the past couple of years, millions of nurses have worked extra hard during the global pandemic. In fact, many beginner nurses were even fast-tracked into their careers due to the demand that was being placed on hospitals all around the world.

So, with that said, it’s incredibly important that you remain persistent. Along the way, there will be some tough moments – especially if another global pandemic or disaster was to happen – but it’s all a part of the job. At the end of the day, it will make you a better professional.

Conclusion

Becoming a nurse is a lot easier than it used to be. Now, pretty much anyone can get an education in nursing and ultimately find the right employer for them.

However, you must follow the tips above if you want to experience a smooth and efficient transition into the world of nursing. Otherwise, you will find it difficult – and will likely get confused along the way!

Make sure you choose the right degree specification and university to study at first, and everything after that should hopefully fall into place for you.
Source link

Source: https://www.flyingtrav.com/health/top-tips-to-start-a-career-in-nursing/

Which type of diffuser is right for you?

What features would you like your diffuser to have? 

The added features of a diffuser allow you to customize your space and your experience, adding lights, sounds, and control to your essential oil experience.

When you think of diffusing Lemon essential oil, what color comes to mind? For us, we think of bright yellow or orange, uplifting citrusy colors that remind of bright days in the sun. Lavender is more, well, lavender, a calm color in rainy skies at sunset. But that’s just us. With customizable lights, many of our diffusers help you to expand your sensory experience beyond just scent into sight. Try our Lantern Diffuser or Haven Ceramic Diffuser to add an extra dimension.

When you’re creating the right meditative essential oil environment, what should it sound like? What sound pairs with the scent of Frankincense? Our Aria Ultrasonic Diffuser has multiple sound options that help you to expand your experience further. If you don’t really feel a perfect match with the pre-loaded sounds, connect your phone to the  built-in speakers and bring your own sounds. If you’re diffusing around your kiddos as part of their bedtime routine, our Feather the Owl Diffuser has white-noise features so you can set the stage for winding down.

Still unsure which diffuser is best for your needs? Take this quiz to find out!

Diffuser alternatives 

If you don’t own a diffuser yet but would like to start getting the aromatherapy benefits of essential oils, try some of these methods:

  • Tissue diffuser: Place your desired essential oil onto a tissue or cotton ball and breathe in its aroma.
  • Scent tent: Put a drop of oil into the palm of your hand (dilute with a carrier oil if the oil packaging specifies that dilution is needed). Cup your hands around your nose and breathe deeply.
  • Smell straight from the bottle: Remove the lid from the essential oil bottle and deeply breathe in the essential oil aroma. For a less intense experience, smell from the lid instead of the bottle.
  • Aroma Ring: The Aroma Ring is a soft silicone ring infused with Lavender and AromaEase™ essential oils. It fits comfortably on your nose or on your ear to deliver subtle, continuous aromatherapy for up to six hours.

Now that you know type of diffuser to use, read up on how to maintain a diffuser in this blog post: How to take care of your diffuser. If you’re wondering how to maximize your essential oil experience with your diffuser, check out this blog post on making custom essential oil blends: An insider’s guide to creating diffuser blends.

If you could pick any feature for you diffuser to have, what would it be?

Tell us in the comments below!

Source link

Source: https://www.flyingtrav.com/health/which-type-of-diffuser-is-right-for-you/

Vegan Yellow Cheese Sauce | The Full Helping

This vegan yellow cheese sauce has a melty texture and is so versatile. Use it over nachos, baked potatoes, steamed broccoli, or casseroles. It also makes a perfect vegan grilled cheese sandwich!

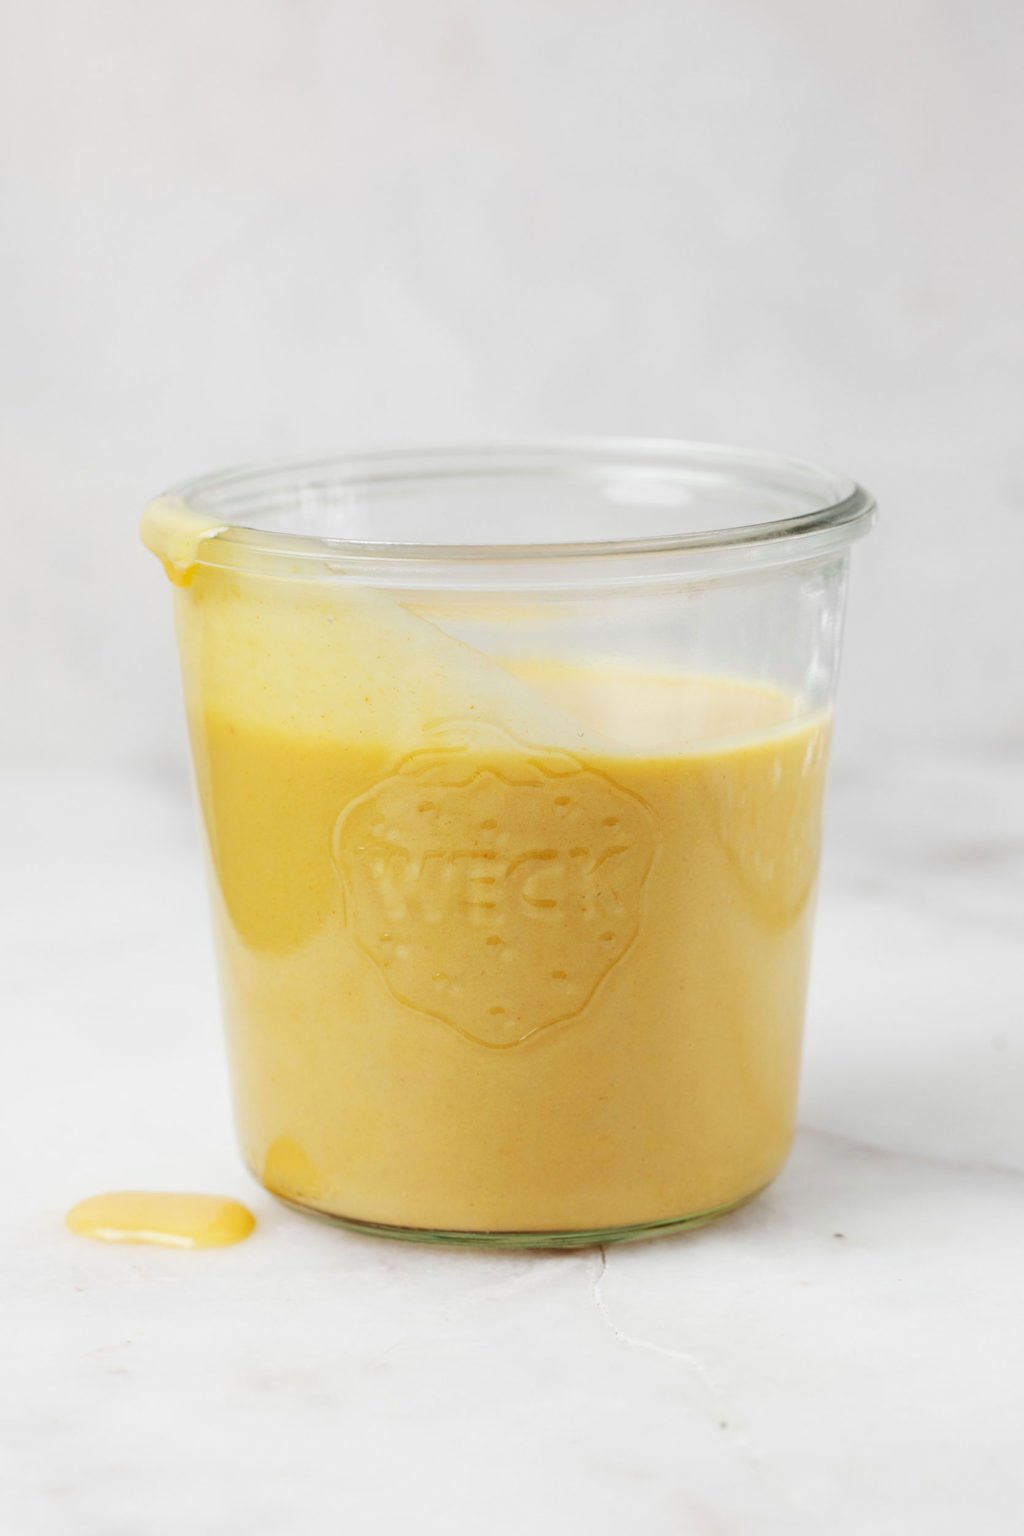
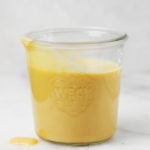
A glass mason jar holds a yellow, vegan cheddar cheese sauce.A glass mason jar holds a yellow, vegan cheddar cheese sauce.

Hey friends. Still feeling the limited capacities and inward pull as I work away on my manuscript and ride the wave of everything else.

Many of you have asked me about weekend reading posts, and don’t worry, they’re not going anywhere. I’ll be getting back into the swing of them when I can. Right now, I can only do what I can do.

In spite of all this, I’m at least being consistent with my weekly meal prep. Having lunches and dinners taken care of for the week gives me so much peace of mind. And I’ve recently discovered that this vegan yellow cheese sauce is a meal prep hero.

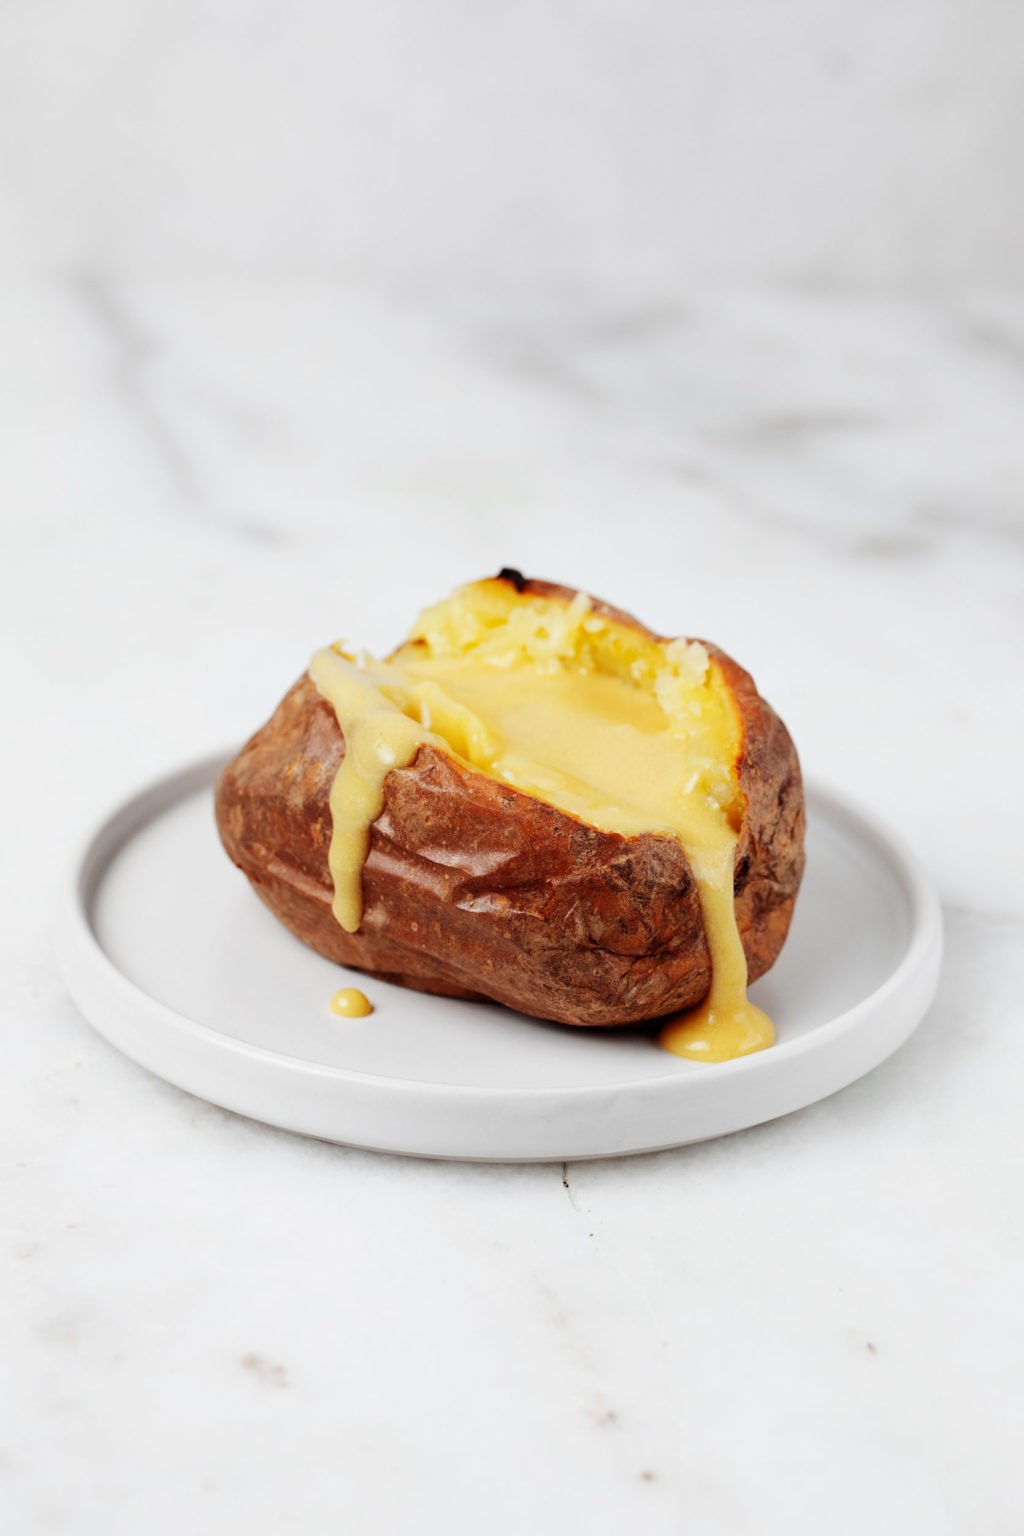
The sauce isn’t brand new. It’s almost exactly the same mixture that I use to make my favorite, homemade vegan grilled cheese sandwiches. Over the weekend I was craving a baked potato with cheese sauce, and I asked myself whether it would work that way—as a condiment, rather than a sandwich filling.

It really does. On top of that, it’s easy to make, and it’s more wholesome than some of the commercial vegan cheeses out there. You can use it in all sorts of ways, and I’m now so hooked on it that I thought it deserved a post of its own.

What is yellow cheese sauce?

In all honesty, I wasn’t sure what to call this. Cheddar sauce? It’s not quite as sharp as cheddar, but it’s not too far off. Think mild cheddar meets American cheese—it’s someplace in that flavor zone.

The cheese sauce is thicker and less pourable than a lot of my other sauces, and it’s supposed to be. It’s a little melty and gooey, which is what makes it cheese-like.

A baked potato rests on a small white plate against a marble surface. It's topped with a creamy topping.A baked potato rests on a small white plate against a marble surface. It's topped with a creamy topping.

How to make vegan yellow cheese sauce

This is one of a very few creamy sauces in my cooking arsenal that isn’t made with blended cashews! (Good news for people with cashew or tree nut allergies.)

Instead, I use a non-dairy milk base. The milk should be unsweetened. My go-to is oat or soy, but I’ve also used unsweetened almond and cashew milks in the recipe, and they work well, too. The sauce gets some additional creaminess from tahini.

The source of melty, stretchy consistency in the cheese sauce is a mixture of flour (1/4 cup) and cornstarch (1 tablespoon).

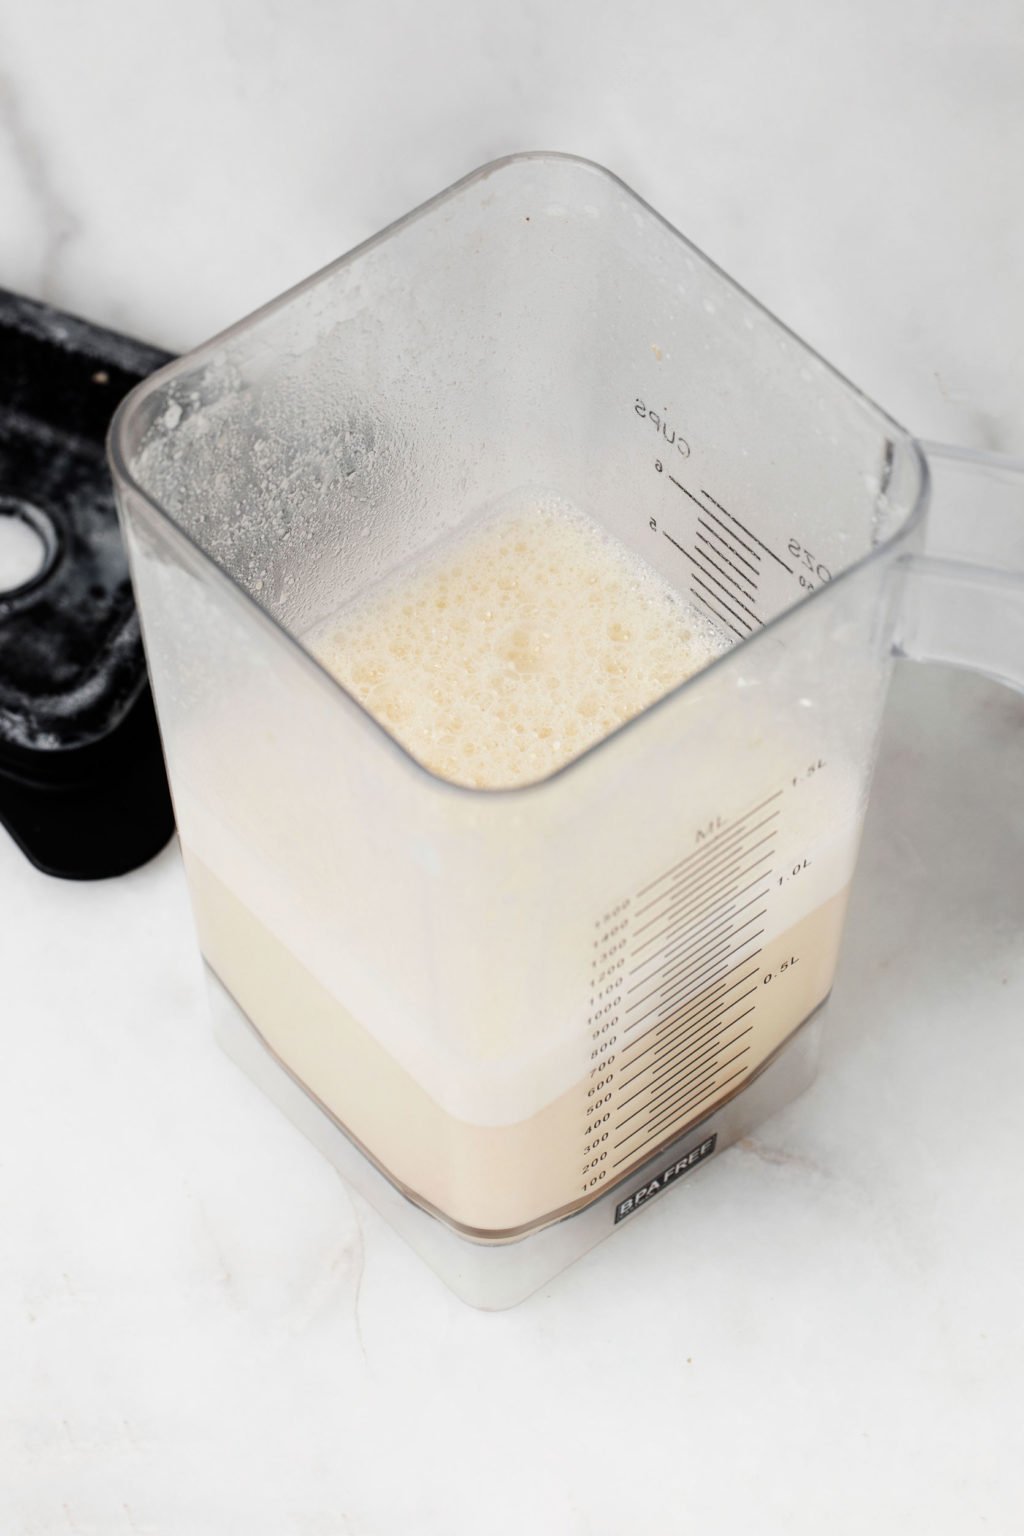
A blender contains non dairy milk. It rests on a white marble surface.A blender contains non dairy milk. It rests on a white marble surface.

You’ll begin by blending the sauce ingredients in a high-speed blender till smooth.

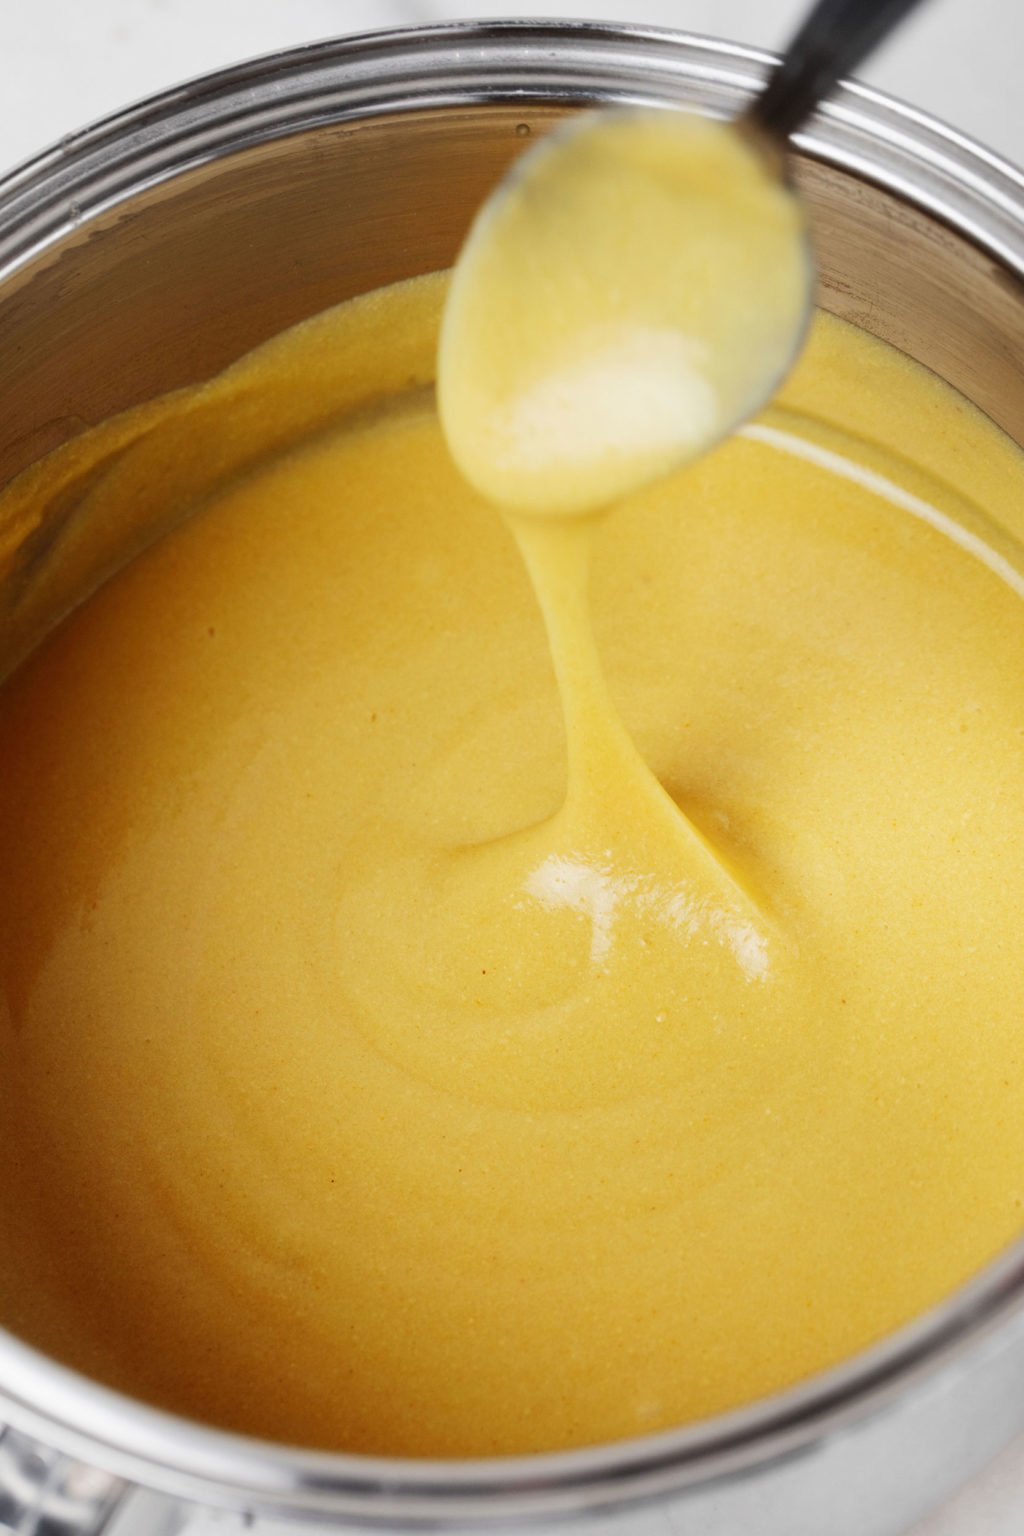
Next, you’ll warm the mixture in a saucepan over medium low heat. It’s important to stir constantly with a spoon or a whisk as you go, so that the sauce doesn’t develop lumps as it thickens up.

Be aware that the sauce will thicken up quickly! It’ll be very liquidy, very liquidy, and then suddenly quite a bit thicker. When it’s ready, the texture will be smooth, shiny, and melty.

A vegan cheddar cheese sauce is being prepared in a metal saucepan.A vegan cheddar cheese sauce is being prepared in a metal saucepan.

Variations and substitutions

Depending on your health needs or food allergies/sensitivities, there are a few ingredients you might wish to substitute in the recipe.

Tahini

If you have a sesame allergy, then you can use cashew butter in place of the tahini—it works really well. If you’re allergic to both nuts and seeds, then you can try using 1/4 cup of a tofu-based vegan cream cheese (like Tofutti).

All-purpose flour

You can easily make the cheese sauce gluten-free by using a gluten-free, all-purpose flour blend. I love the Measure for Measure flour from King Arthur.

Cornstarch

The cornstarch can be replaced with either arrowroot or double the amount of tapioca starch. Either will work well.

Meal prep and storage

Clearly, this sauce is one that I like to make ahead of time. But what about storage and reheating?

The cheese sauce will keep for up to five days in an airtight container in the fridge. It can be frozen for up to six weeks, too. The recipe makes about about one and a half cups total.

The cheese sauce will solidify a lot when you store it. However, it’s not hard to bring it back to a melty, sauce-like consistency. To do so, just heat the sauce in a saucepan over low heat, adding a splash of non-dairy milk to help loosen it up.

Stir constantly as you heat the sauce, until it’s once again its original consistency.

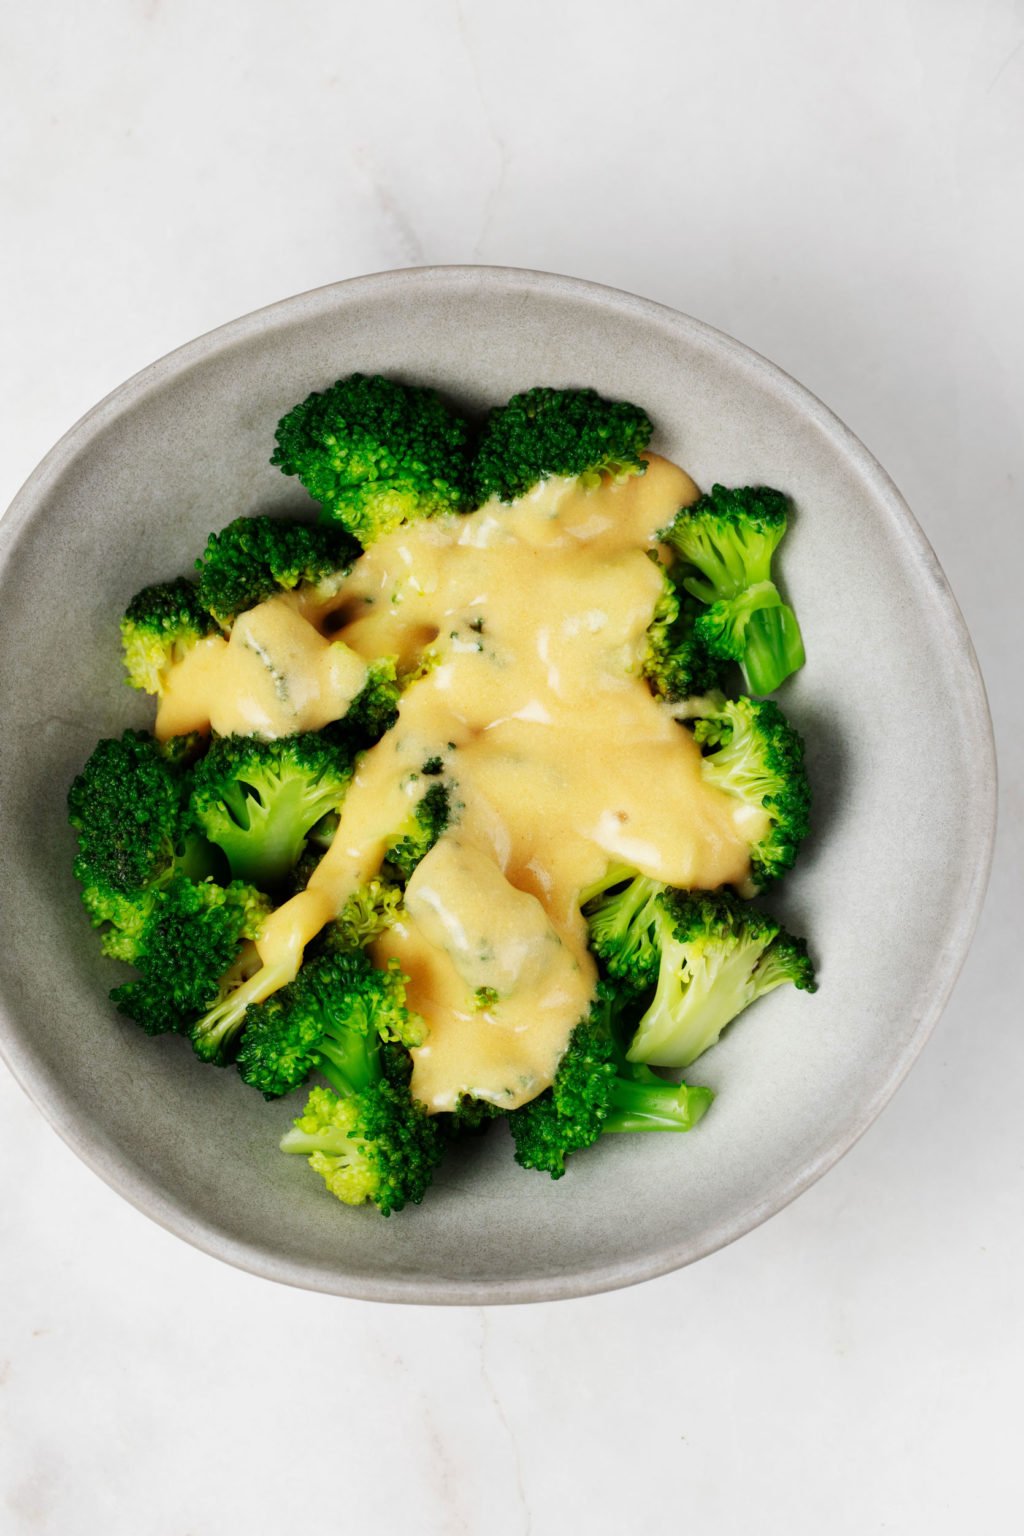
A bowl of steamed broccoli has been topped with a vegan cheddar cheese sauce.A bowl of steamed broccoli has been topped with a vegan cheddar cheese sauce.

What can I do with yellow cheese sauce?

My favorite thing about this sauce is its versatility. There’s no more worthy thing to meal prep each week than a component that can be used in many different ways. For me, this includes:

The yellow cheese sauce falls easily into this category. Here are just a few ways you might use it as the week goes by:

That’s all just a starting point. There’s so much more possibility here. I’m going to start keeping a jar full of the cheese sauce in my fridge or freezer for any and all occasions.

A glass mason jar holds a yellow, vegan cheddar cheese sauce.

Prep Time: 15 minutes

Total Time: 15 minutes

Yields: 1.5 cups

  • 1 1/2 cups unsweetened oat, soy, almond, or cashew milk (360 ml)
  • 1/4 cup nutritional yeast
  • 2 tablespoons tahini (30 g; substitute cashew butter)
  • 1/4 cup unbleached all-purpose flour (35 g)
  • 1 tablespoon cornstarch or arrowroot powder (10 g; substitute 2 tablespoons tapioca starch)
  • 3/4 teaspoon fine sea salt
  • 1/2 teaspoon mustard powder
  • 1/2 teaspoon sweet paprika
  • 1/2 teaspoon onion powder
  • 1/4 teaspoon turmeric
  • Pinch freshly ground black pepper
  • Blend all ingredients in a blender till smooth. Transfer this mixture to a medium sized saucepan.

  • Heat the cheese sauce over medium low heat, stirring constantly with a whisk or spoon as you go. Continue heating for 5 minutes, or until the sauce thickens rapidly. Stir vigorously as you go, so that the cheese sauce doesn’t form clumps. When the sauce appears thick, smooth, and a little shiny, it’s ready.

  • Use the cheese sauce immediately or store for future use.

I didn’t set any new years resolutions in January, but I have been trying to make more every day staples from scratch. I don’t stop myself from buying vegan meats or frozen meals or any other convenient product when I want it.

But I really like homemade dressings, sauces, and dips. And I was making vegan cheese at home long before store-bought was a very good option.

This yellow cheese sauce will now join my go-to cashew cheese recipe, tofu feta, and melty vegan cashew mozzarella as a DIY, dairy-free cheese that I can rely on week to week. And I’m really happy about it.

Hope you’ll find the recipe to be useful, too. And I’ll be back before too long, with some thoughts for NEDA week and some new food.

xo

Source link

Source: https://www.flyingtrav.com/health/vegan-yellow-cheese-sauce-the-full-helping/

Mix it up: NingXia Red shots to power your day

You’re a self-starter, a goal buster who wakes up every morning excited to take on the day . . . or as least you want to be. While good intentions are always a good start, some mornings leave you feeling more like a couch potato than an early bird. Ignite your drive with daily shots of NingXia Red®! A simple sip packs a punch with antioxidants and superfoods your body craves. With a different recipe for every day of the week, you can start every morning off on the right shot.

What is NingXia Red?

A sweet and tart blend of superfruits and essential oils, NingXia Red features a blend of juices and extracts from aronia, plum, blueberry, and pomegranate, but the true star of the show comes from the exotic Ningxia wolfberry. Sought after by the Ming Dynasty and traced back to ancient Chinese medicine, this little berry is one of the most nutrient-dense foods on the planet. Add a Yuzu citrus infusion, with a few drops of LemonOrange, and Tangerine essential oils to the mix, and you have a powerful blend that supports whole-body health.

Learn more about NingXia Red here.

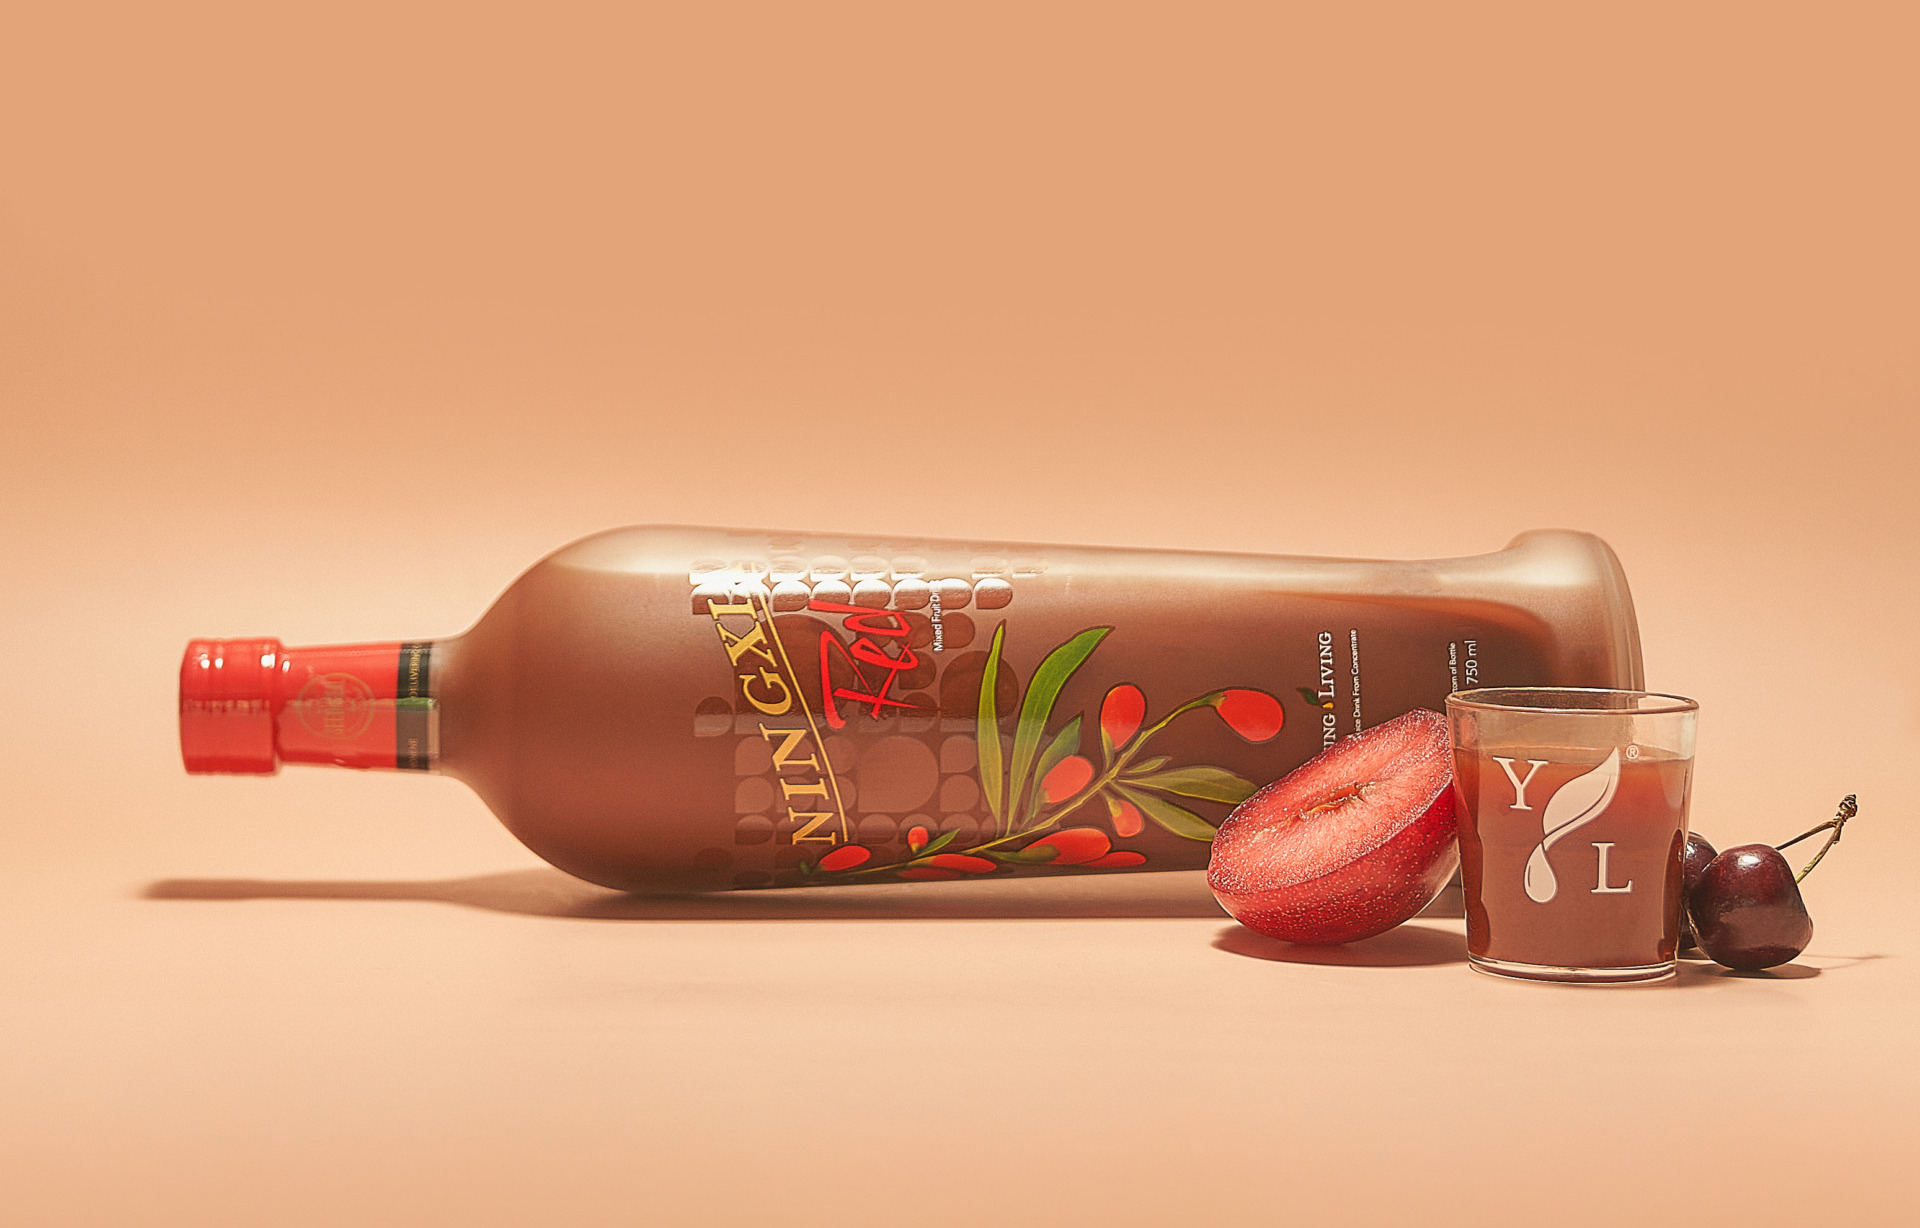
NingXia Red bottle next to YL shot glass filled with NingXia - Young Living Lavender Life blog

How much NingXia Red should I drink each day?

A little goes a long way with NingXia Red. We recommend drinking 1–2 ounces twice per day to experience full benefits. Keep NingXia Red on hand with our on-the-go serving size, NingXia Red singles.

NingXia Red “shots”

So maybe starting your morning off with a shot wasn’t exactly what you had in mind for self-improvement, but these NingXia Red recipes wake up your system with a kick, energizing you to take on the day. Featuring Vitality™ oils, each recipe offers an invigorating flavor palette with added benefits. Try out a recipe today and see how your morning changes!

NingXia Red is best served chilled.

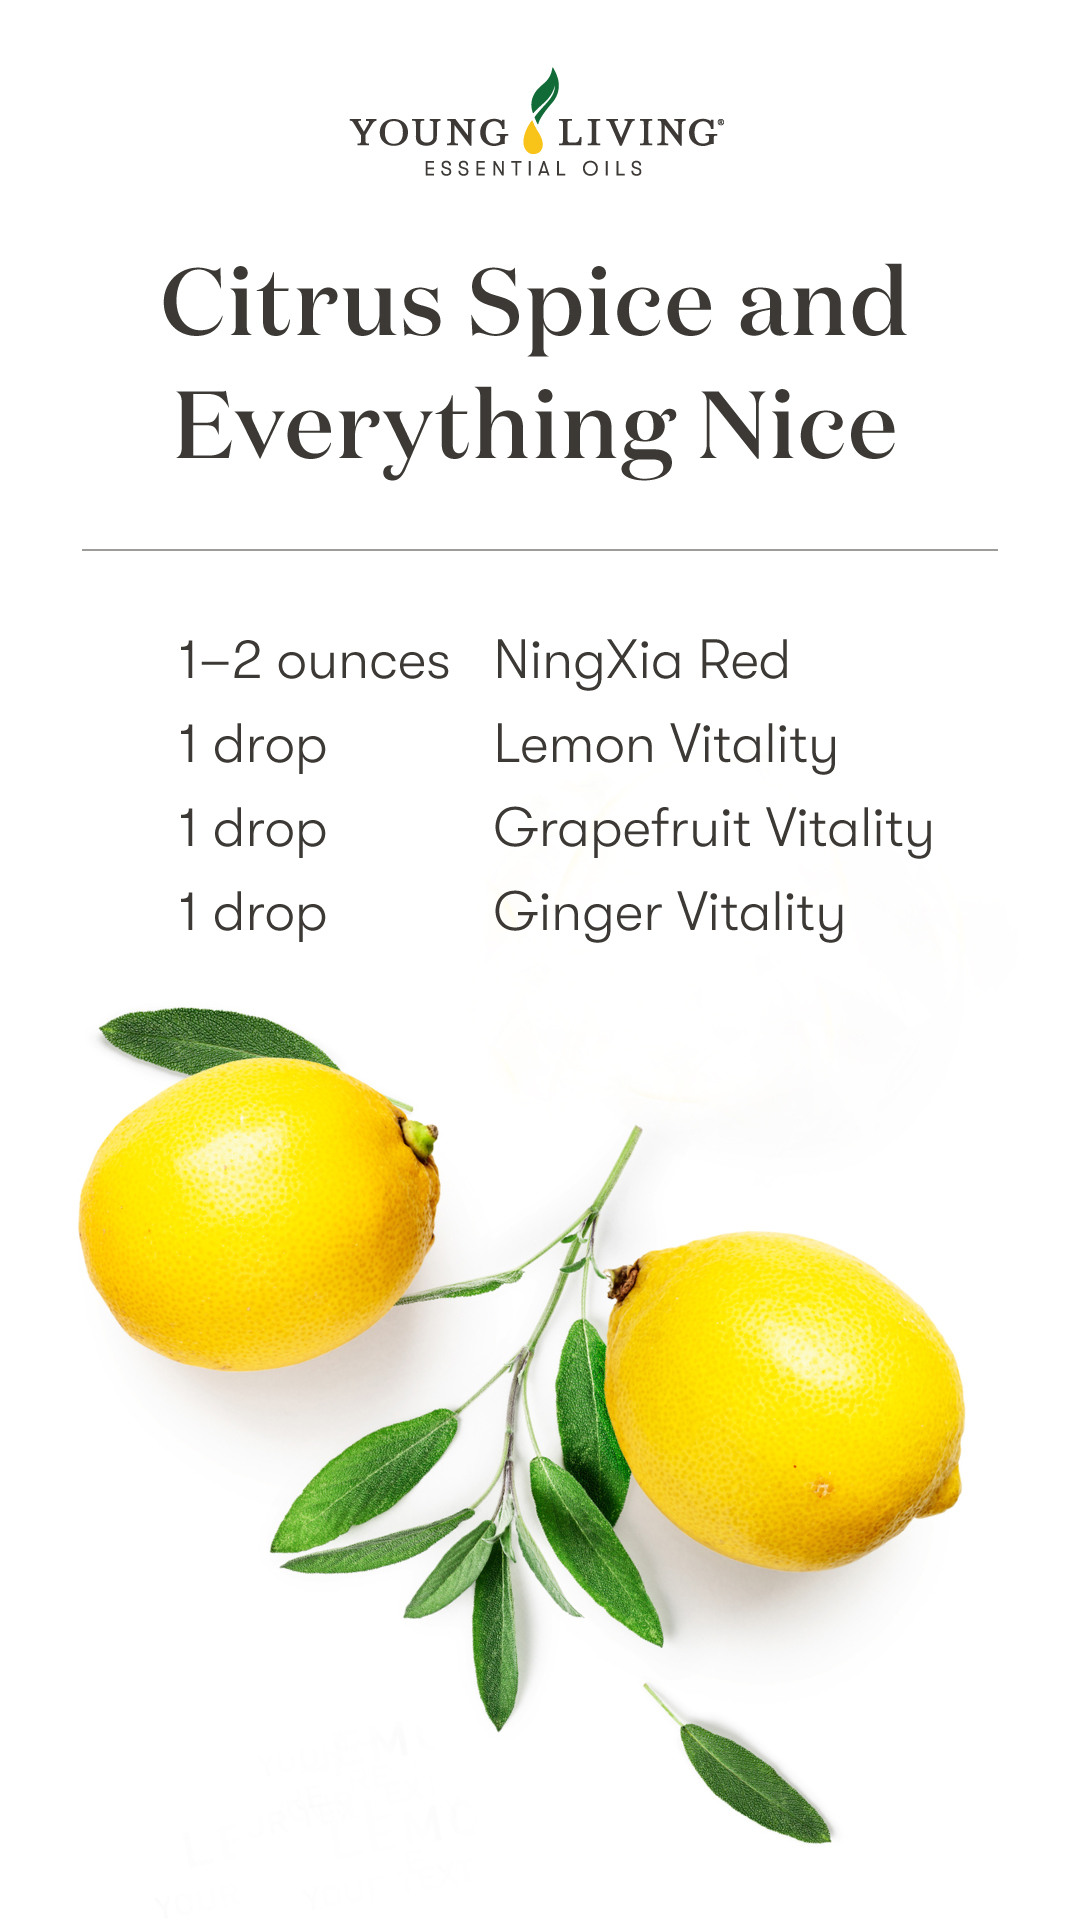
Citrus Spice and Everything Nice

Bright and cheery with a little kick at the end, this recipe blends the fruity notes of Lemon and Grapefruit with the spicy vigor of Ginger, leaving you feeling refreshed and energized. Bottoms up!

  • 1–2 ounces NingXia Red
  • 1 drop Lemon Vitality essential oil
  • 1 drop Grapefruit Vitality essential oil
  • 1 drop Ginger Vitality essential oil
Citrus Spice and Everything Nice NingXia shot blend - • 1–2 ounces NingXia Red • 1 drop Lemon Vitality essential oil • 1 drop Grapefruit Vitality essential oil • 1 drop Ginger Vitality essential oil - Young Living Lavender Life Blog

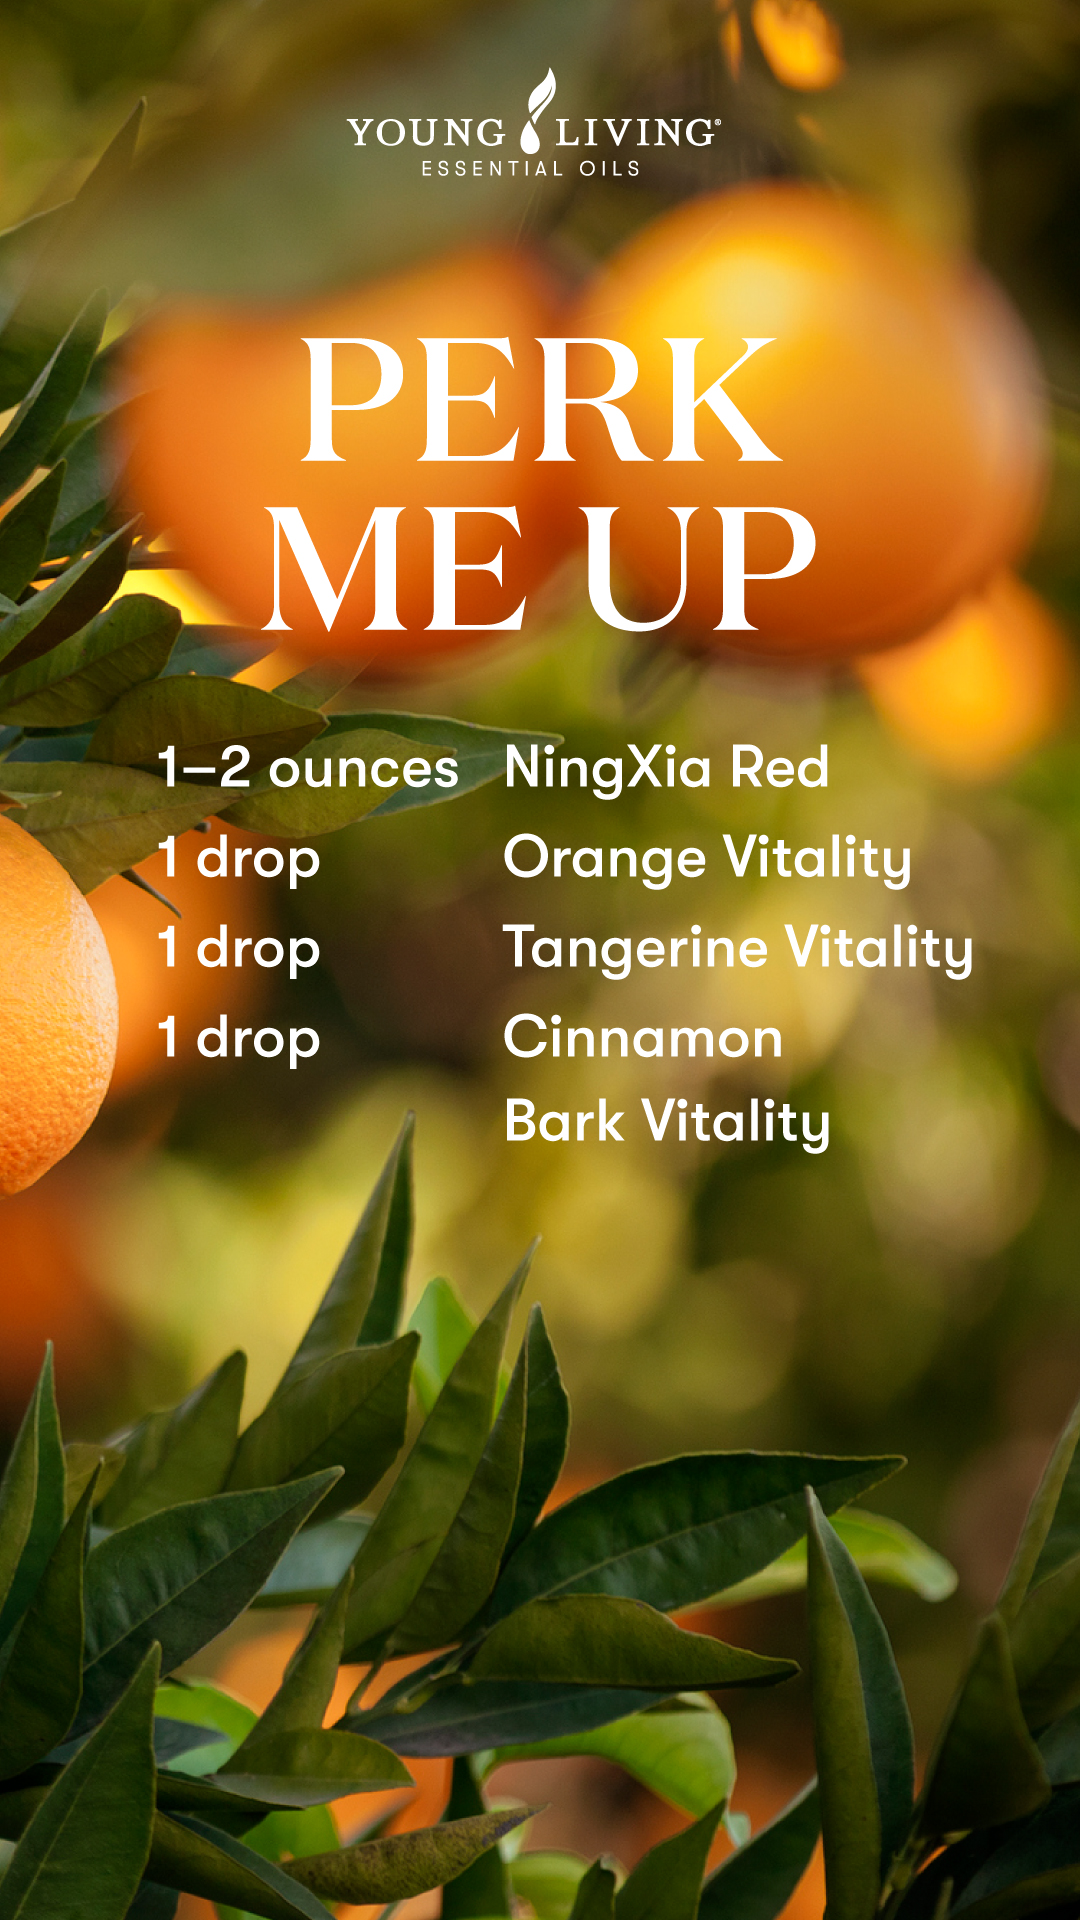
Perk Me Up

In need of a little pick-me-up? Perk up with this warm and citrusy blend, featuring cozy Cinnamon and fruity Orange and Tangerine. It’s like a warm hug in a drink!

  • 1–2 ounces NingXia Red
  • 1 drop Orange Vitality essential oil
  • 1 drop Tangerine Vitality essential oil
  • 1 drop Cinnamon Bark Vitality essential oil
Perk Me Up NingXia shot blend - • 1–2 ounces NingXia Red • 1 drop Orange Vitality essential oil • 1 drop Tangerine Vitality essential oil • 1 drop Cinnamon Bark Vitality essential oil - Young Living Lavender Life Blog

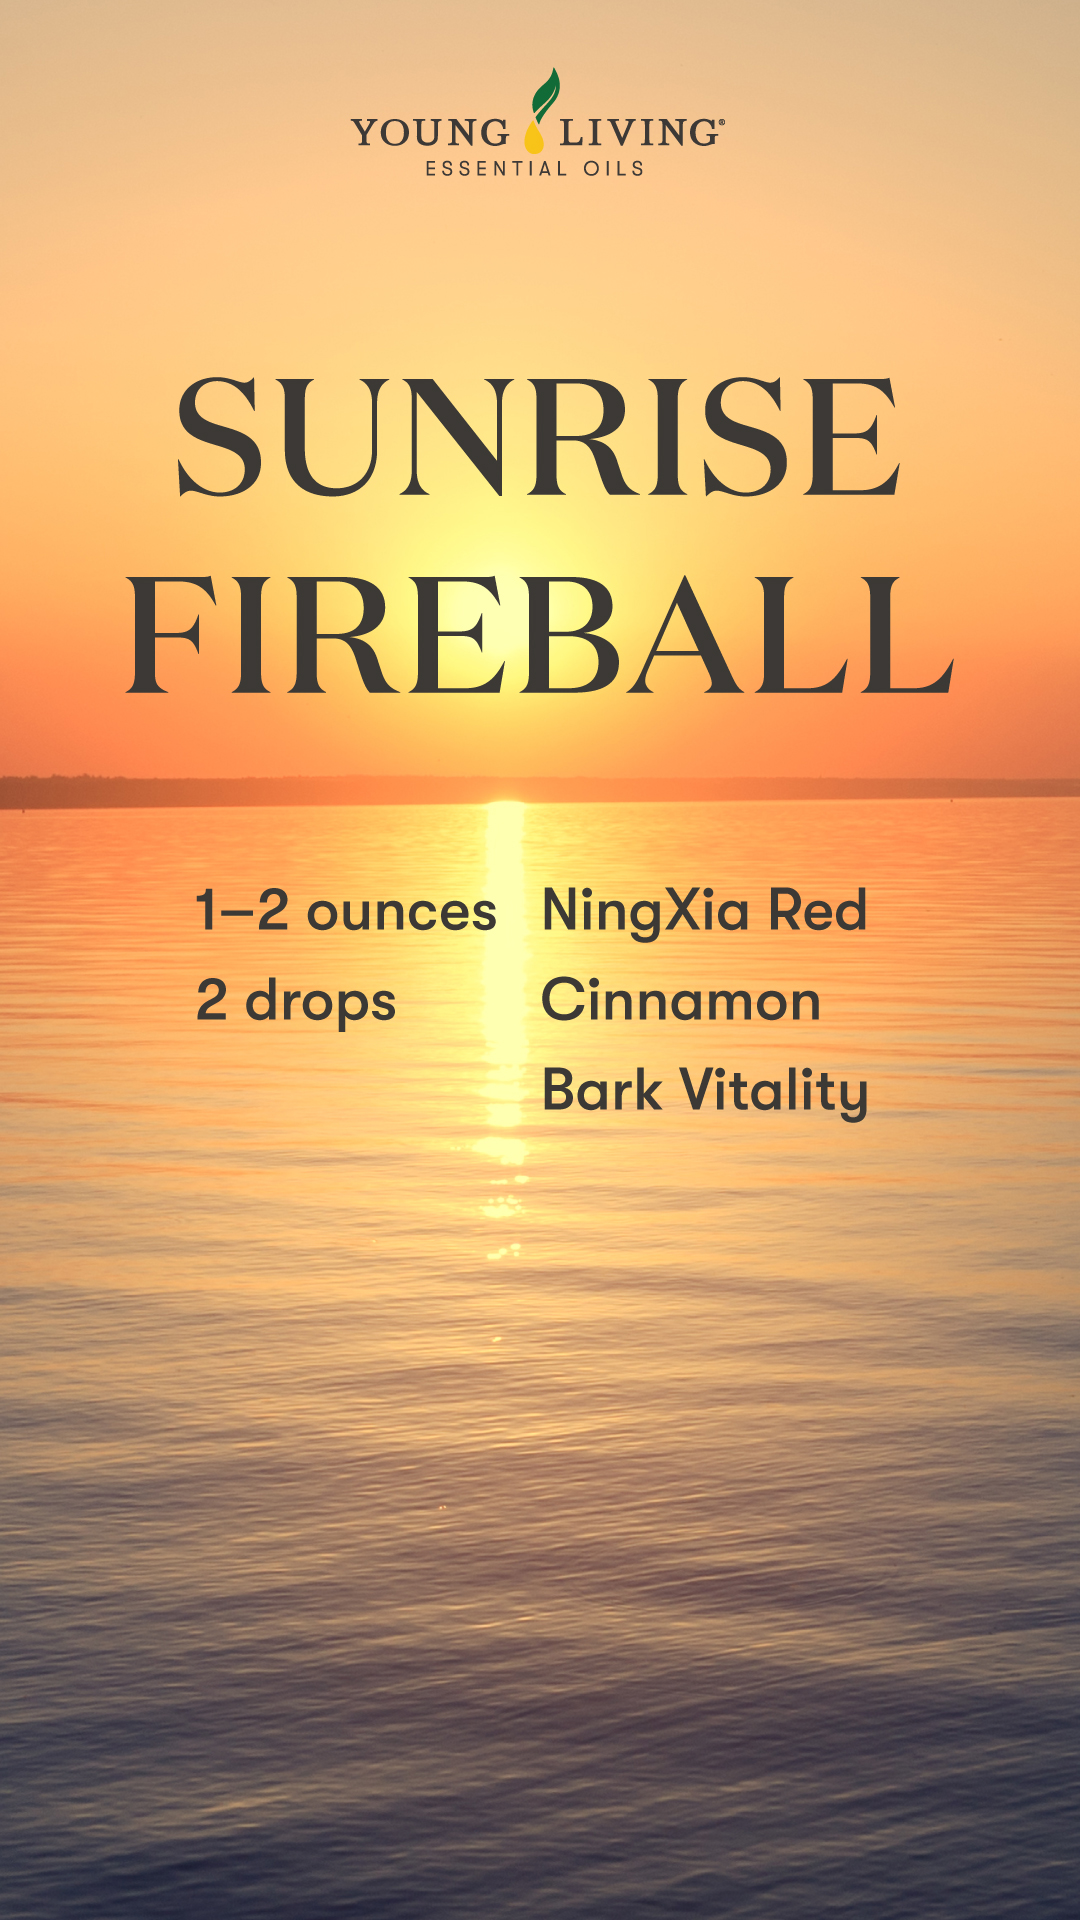
Sunrise Fireball

Some mornings, you just need straight fire to get you out of bed. Feel the heat with this simple recipe and leave your whole body supported and energized with fiery Cinnamon.

  • 1–2 ounces NingXia Red
  • 2 drops Cinnamon Bark Vitality essential oil
Sunrise Fireball NingXia Red shot blend - •1–2 ounces NingXia Red • 2 drops Cinnamon Bark Vitality essential oil - Young Living Lavender Life blog

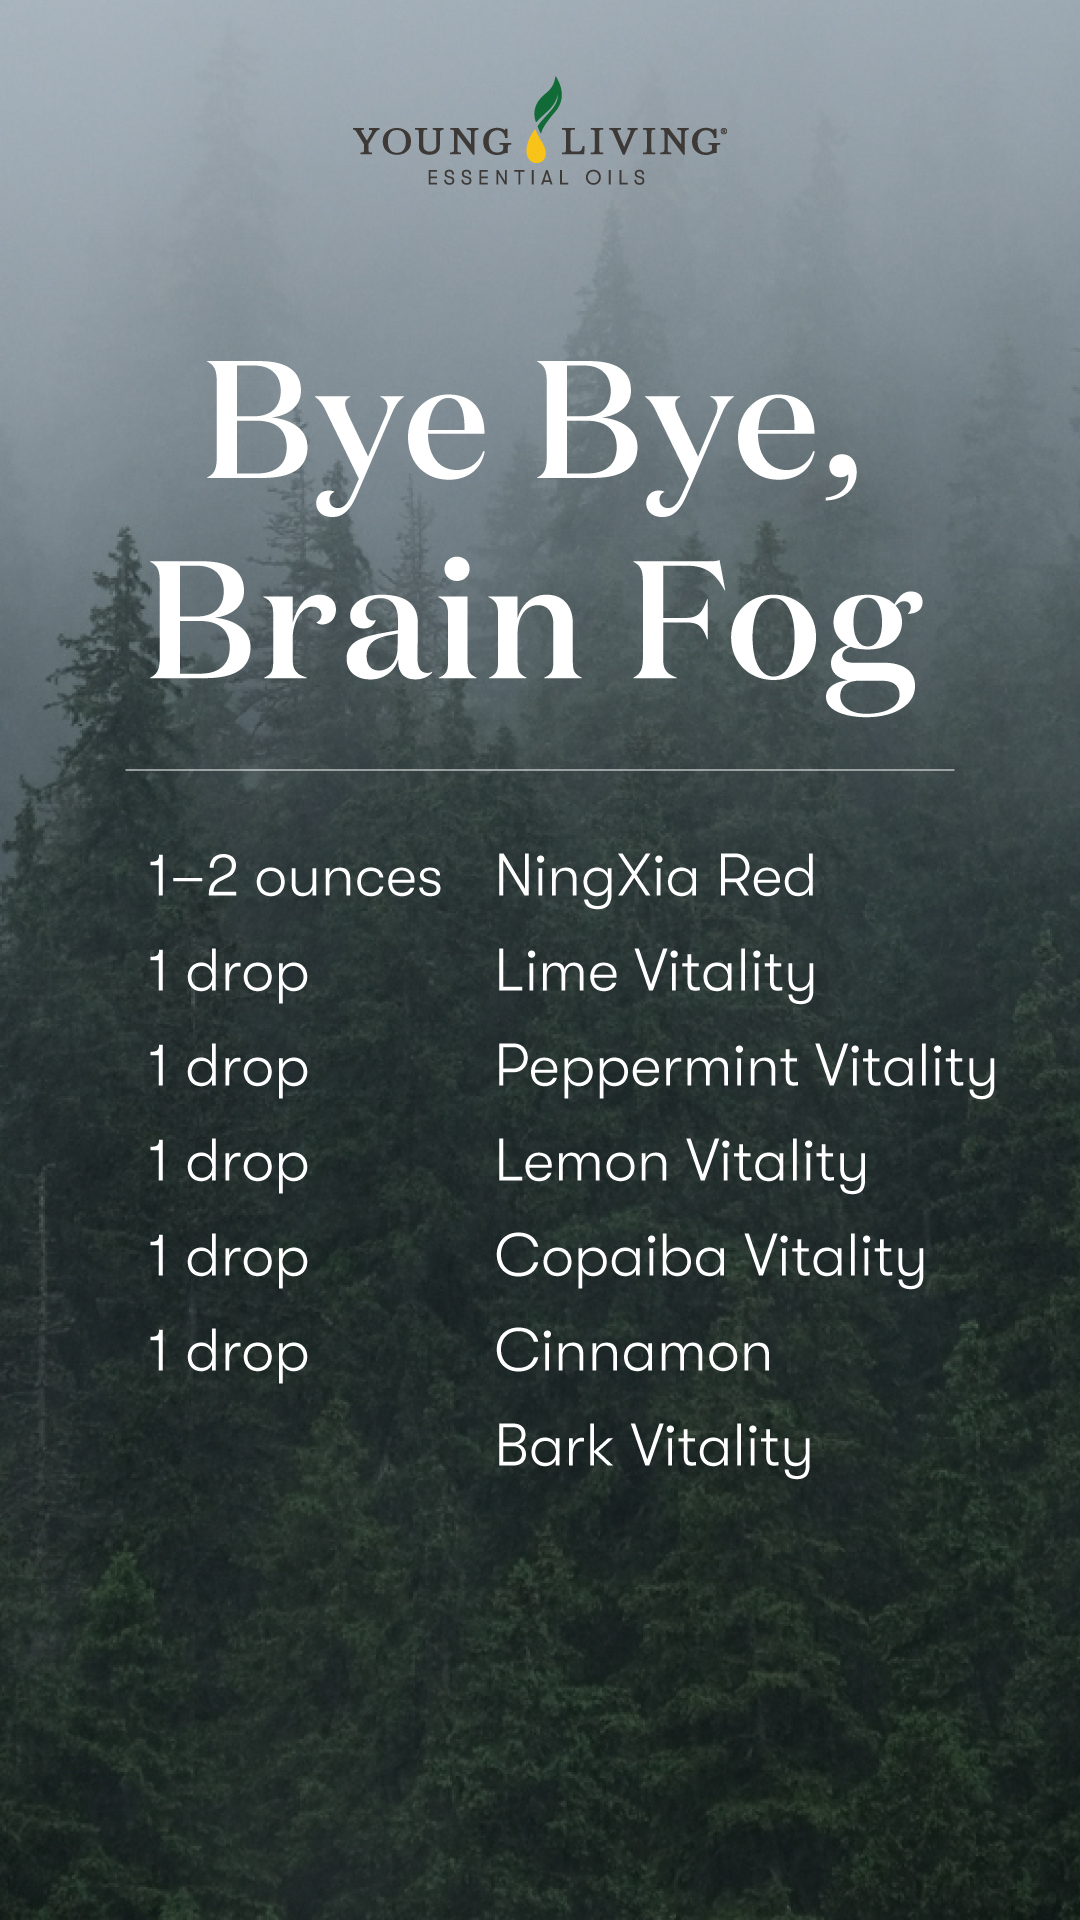
Bye Bye, Brain Fog

Banish morning brain fog and seize the day with a clear mind. Featuring brain-tingling Lime, Peppermint, Lemon, Copaiba, and Cinnamon Bark, one simple shot can leave you feeling elevated and refreshed.

  • 1­–2 ounces NingXia Red
  • 1 drop Lime Vitality essential oil
  • 1 drop Peppermint Vitality essential oil
  • 1 drop Lemon Vitality essential oil
  • 1 drop Copaiba Vitality essential oil
  • 1 drop Cinnamon Bark Vitality essential oil
Bye Bye Brain Fog NingXia Red shot blend - • 1¬–2 ounces NingXia Red • 1 drop Lime Vitality essential oil • 1 drop Peppermint Vitality essential oil • 1 drop Lemon Vitality essential oil • 1 drop Copaiba Vitality essential oil • 1 drop Cinnamon Bark Vitality essential oil - Young Living Lavender Life Blog

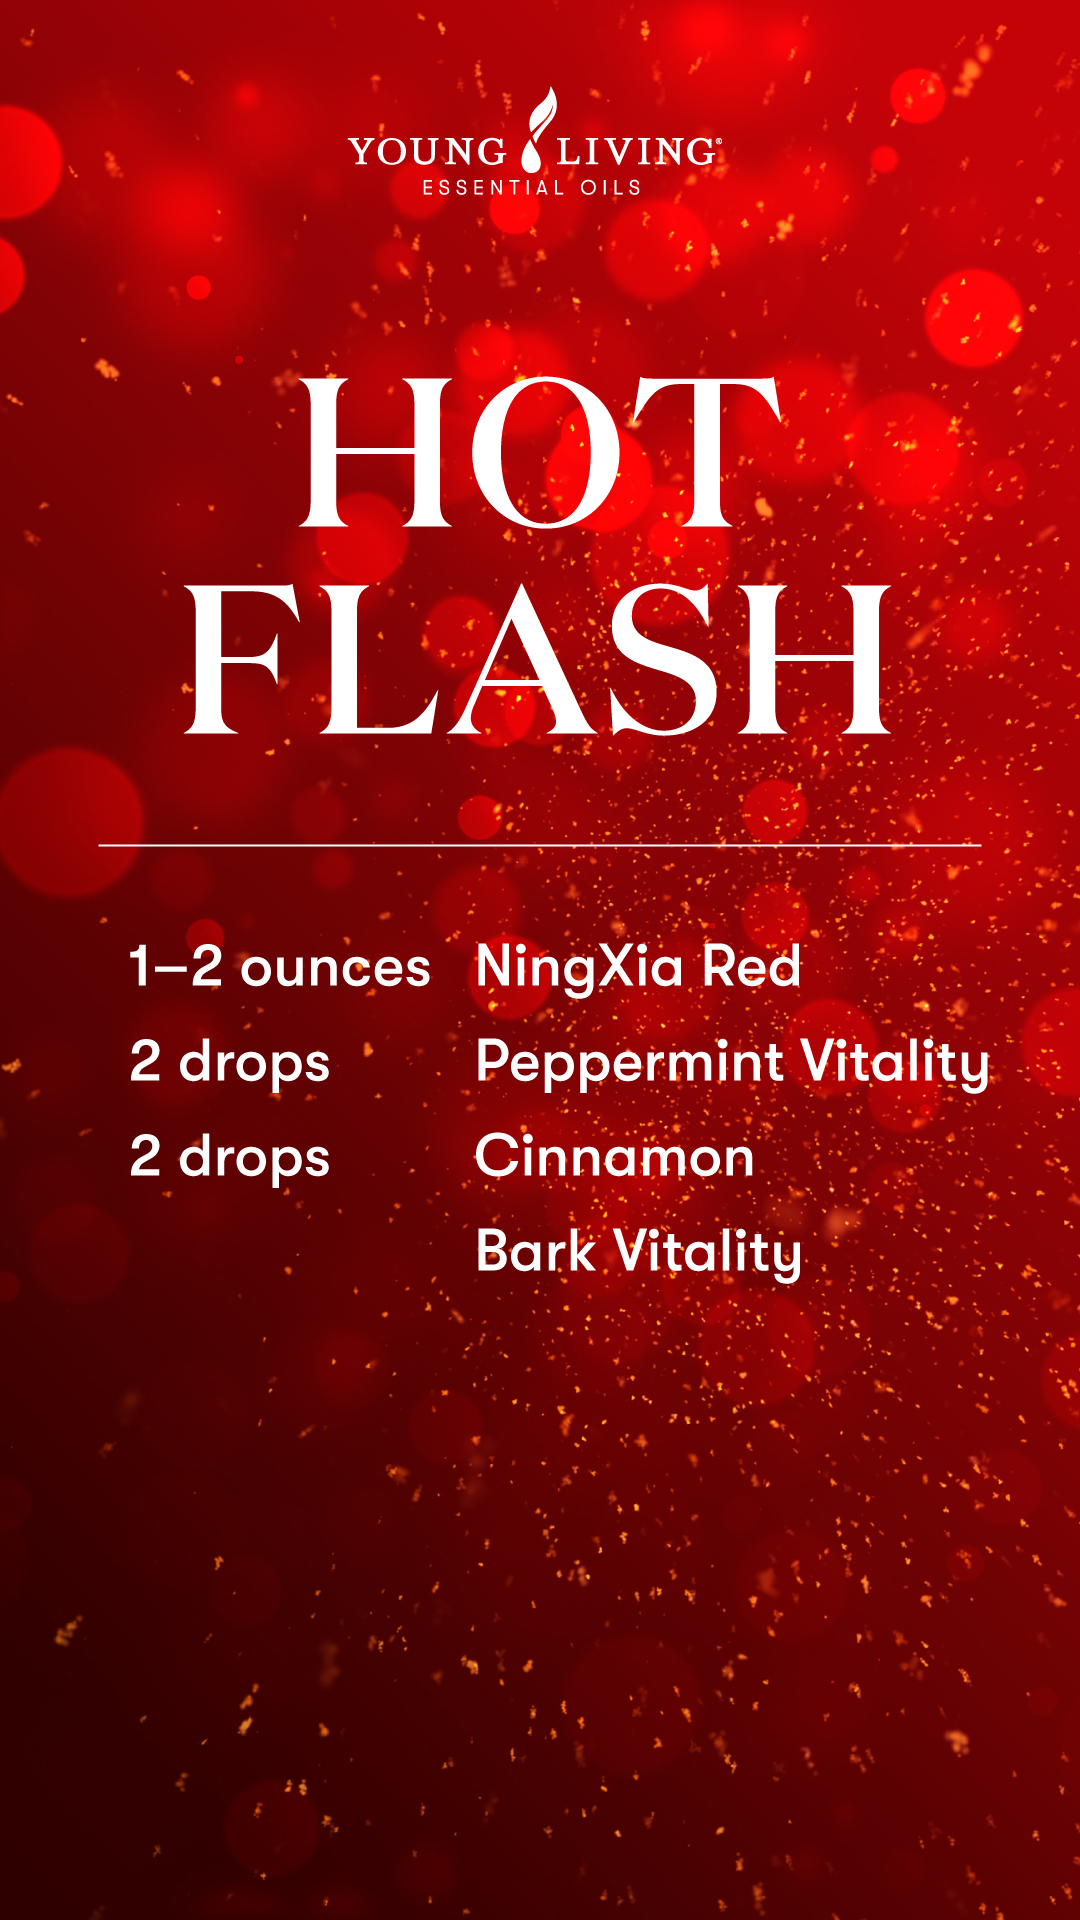
Hot Flash

Send a hot flash through your system with this deliciously powerful blend of Cinnamon Bark and Peppermint! Then cool off and set in for a day that’s charged by nutrients.

  • 1–2 ounces NingXia Red
  • 2 drops Cinnamon Bark Vitality essential oil
  • 2 drops Peppermint Vitality essential oil
Hot Flash NingXia Red shot blend - • 1–2 ounces NingXia Red • 2 drops Cinnamon Bark Vitality essential oil • 2 drops Peppermint Vitality essential oil - Young Living Lavender Life Blog

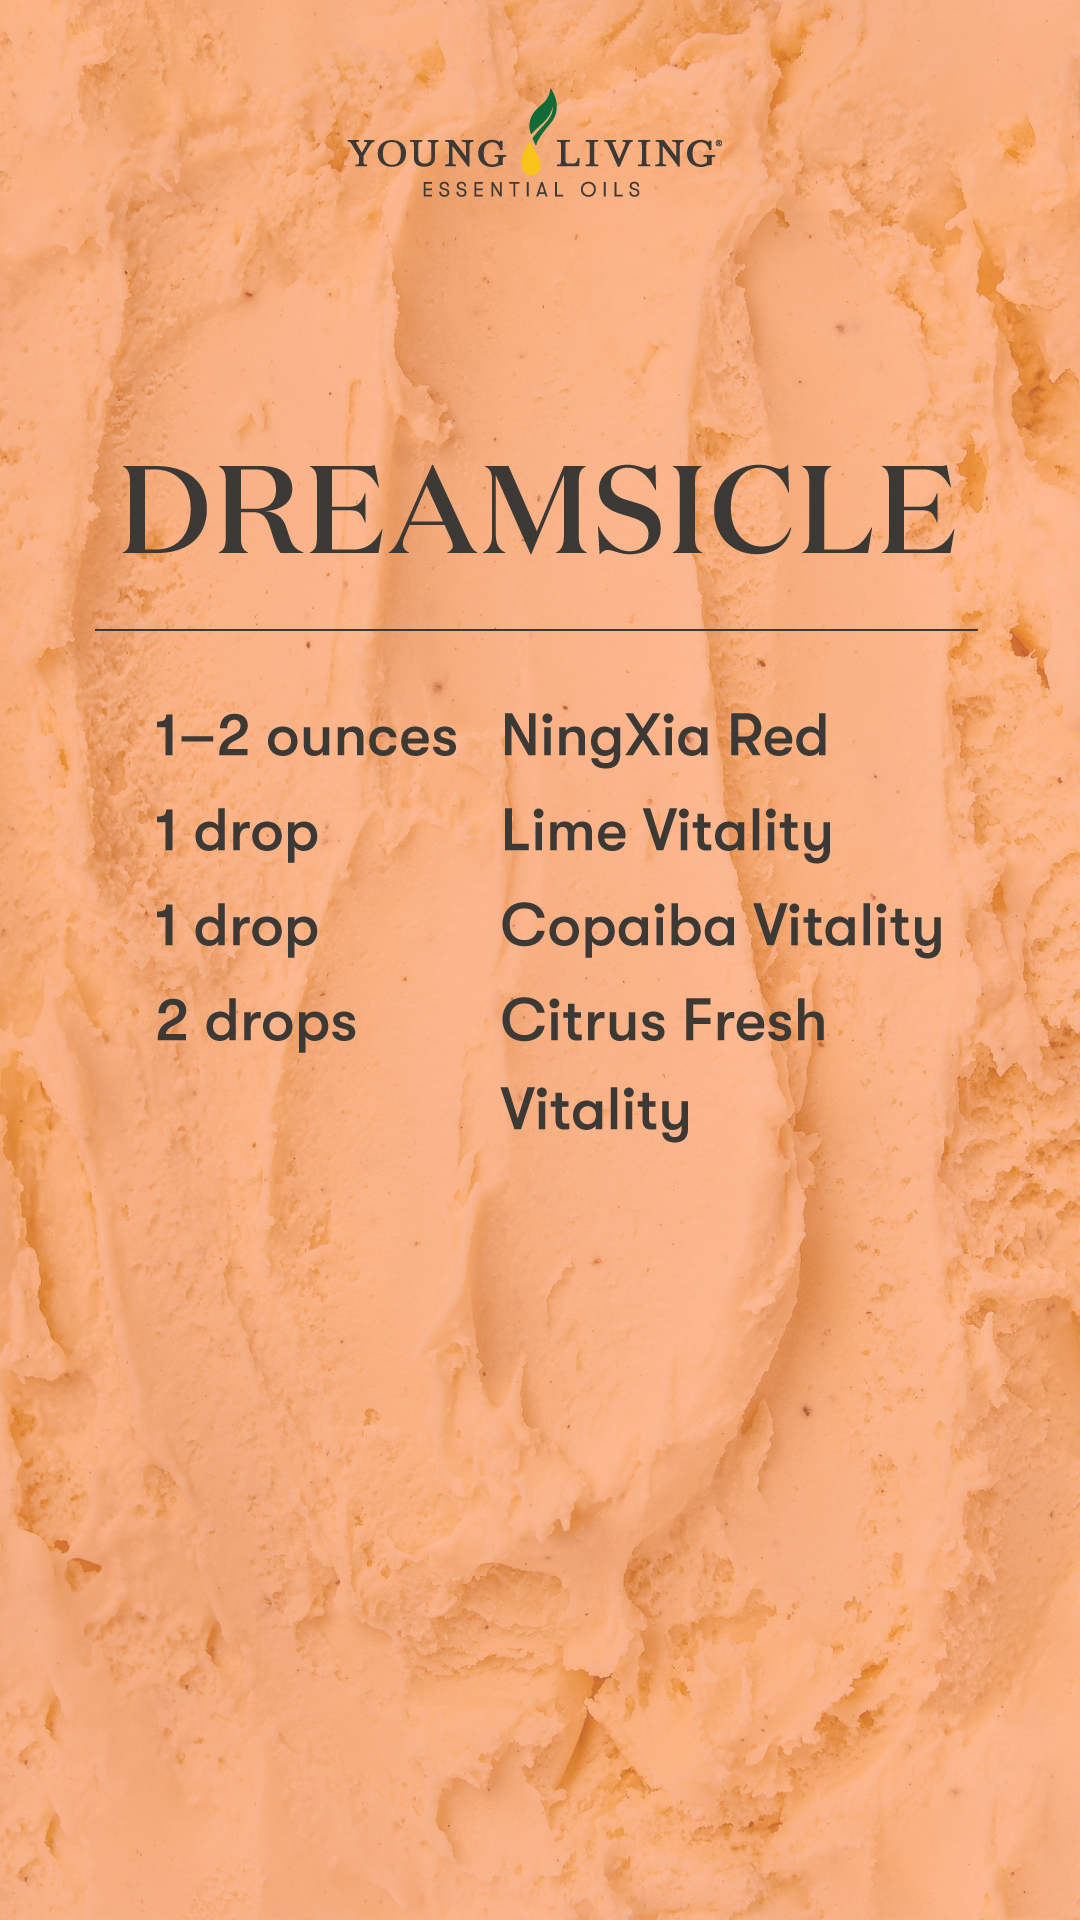
Dreamsicle

Turn sweet dreams into your empowering reality! With a mix of Citrus Fresh, Lime, and Copaiba, you’ll drift out of sleep and into the day with this dreamy blend.

  • 1–2 ounces NingXia Red
  • 2 drops Citrus Fresh Vitality essential oil blend
  • 1 drop Lime Vitality essential oil
  • 1 drop Copaiba Vitality essential oil
Dreamsicle NingXia Red shot blend - • 1–2 ounces NingXia Red • 2 drops Citrus Fresh Vitality essential oil blend • 1 drop Lime Vitality essential oil • 1 drop Copaiba Vitality essential oil - Young Living Lavender Life Blog

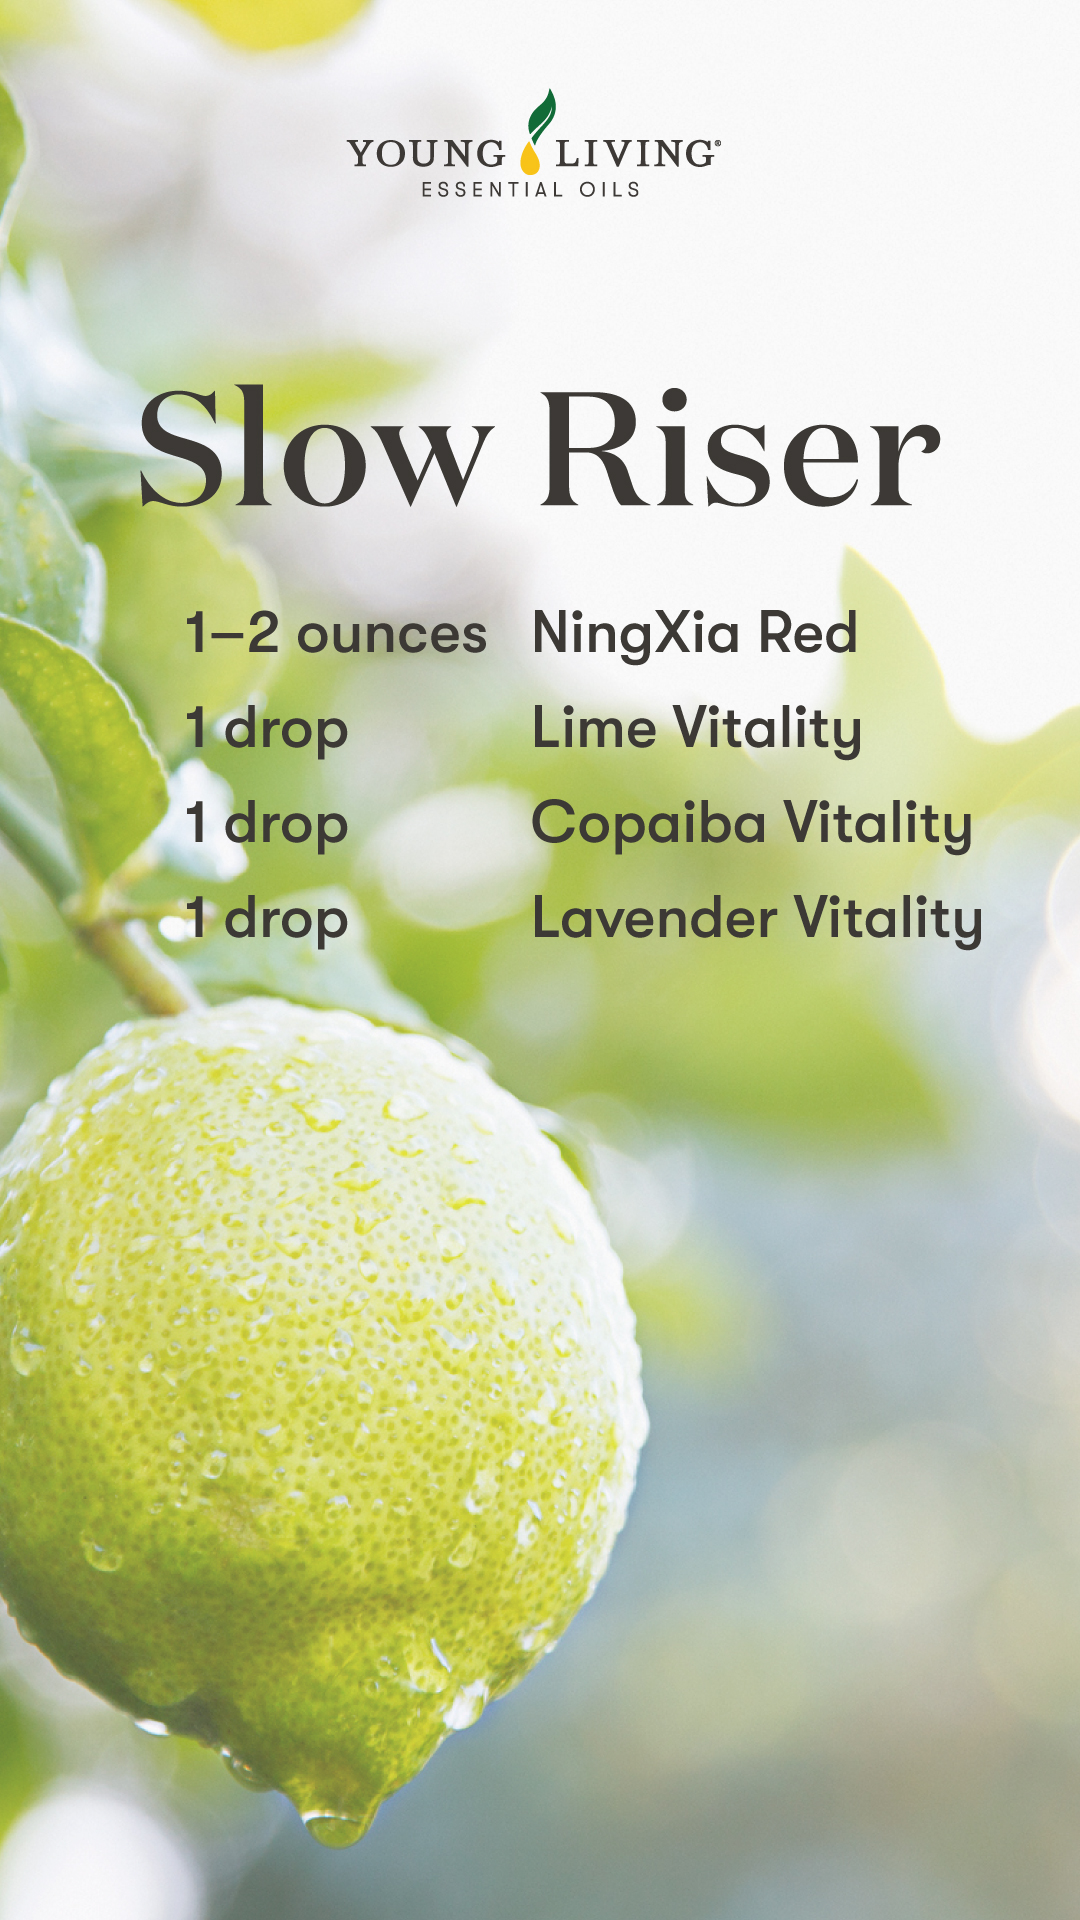
Slow Riser

While others may enjoy shooting down a spicy drink in the morning, you’re more of a gentle riser. Start your day nice and easy by adding a few drops of Lavender, Copaiba, and Lime to the mix.

  • 1–2 ounces NingXia Red
  • 1 drop Lime Vitality essential oil
  • 1 drop Copaiba Vitality essential oil
  • 1 drop Lavender Vitality essential oil
Slow Riser NingXia Red shot blend - • 1–2 ounces NingXia Red • 1 drop Lime Vitality essential oil • 1 drop Copaiba Vitality essential oil • 1 drop Lavender Vitality essential oil - Young Living Lavender Life Blog

Love NingXia Red? Try out NingXia Zyng® and NingXia Nitro® as well!

Take NingXia beyond the bottle with DIY ice cubes and jelly snacks!

Which NingXia shot blend are you going to try first?

Source link

Source: https://www.flyingtrav.com/health/mix-it-up-ningxia-red-shots-to-power-your-day/

4 healthy breakfasts to brighten your morning

Ingredients:

  • 1 ripe banana
  • 2 cups milk
  • 2/3 cup chia seeds
  • 1 tsp pure vanilla extract
  • 1 drop Cinnamon Bark Vitality
  • 1 drop Nutmeg Vitality
  • 3 Tablespoons honey

Instructions:

1. Peel the banana and place it in a bowl. Using a fork, mash it until it has a mostly smooth consistency (a few small lumps are okay).
2. Add the rest of the ingredients into the bowl and mix until combined.
3. Cover tightly and place in the refrigerator. For an easy, on-the-go breakfast, place in 4oz mason jars or small tight-sealed containers.
4. Let sit for at least 4 hours or overnight.
5. Remove from fridge, add your toppings, and enjoy!

YL Tip: Top with your favorite whole foods. Some great options are nut butter, fresh strawberries, cacao nibs, banana slices, apple slices, ground cinnamon, sliced almonds, or Einkorn Granola.

Source link

Source: https://www.flyingtrav.com/health/4-healthy-breakfasts-to-brighten-your-morning/

Essential oil diffuser blends for men

When you create essential oil blends for the man in your life, do you pick certain scents because they strike you as more “masculine” smelling? Us too! Men love a fresh, delicious, or stimulating scent as much as anyone. The right aroma can take him back to a cherished memory or remind him of a favorite spot. For those times you’re in the mood for a masculine diffuser blend sure to appeal to your guy, here are a few recipes to try.

Which essential oils are great for creating manly blends?

When you create masculine diffuser blends, we recommend sticking to woodsy or earthy oils for your base. Experiment with these two types of oils to find your favorites and then combine them with oils that are citrusy, spicy, or minty for the perfect blend. Refer to the lists below for some great oil options that fit under each category.

Source link

Source: https://www.flyingtrav.com/health/essential-oil-diffuser-blends-for-men/

6 steps to a DIY spa day

6 steps to a DIY spa day - Young Living Lavender Life Blog

There’s more to life than work, eat, sleep, repeat. If you’re feeling burned out and wound up, ditch your daily grind and give yourself a much-needed timeout with a DIY home spa day.

How to have a spa day at home

You don’t need much to create a relaxing spa experience. Here are six simple ways to unwind, refresh, and feel ready to take on the world—or at least your to-do list.

YL tip: If you don’t have time for an entire spa day, carve out a moment of calm by doing just one or two of these ideas.

.fusion-body .fusion-builder-column-0{width:100% !important;margin-top : 0px;margin-bottom : 20px;}.fusion-builder-column-0 > .fusion-column-wrapper {padding-top : 0px !important;padding-right : 0px !important;margin-right : 1.92%;padding-bottom : 0px !important;padding-left : 0px !important;margin-left : 1.92%;}@media only screen and (max-width:1024px) {.fusion-body .fusion-builder-column-0{width:100% !important;order : 0;}.fusion-builder-column-0 > .fusion-column-wrapper {margin-right : 1.92%;margin-left : 1.92%;}}@media only screen and (max-width:640px) {.fusion-body .fusion-builder-column-0{width:100% !important;order : 0;}.fusion-builder-column-0 > .fusion-column-wrapper {margin-right : 1.92%;margin-left : 1.92%;}}

.fusion-body .fusion-flex-container.fusion-builder-row-1{ padding-top : 0px;margin-top : 0px;padding-right : 0px;padding-bottom : 0px;margin-bottom : 0px;padding-left : 0px;}

1. Create a soothing ambiance with calming scents.

Set the scene for the ultimate pamper session with one of our spa-inspired diffuser blends. Featuring essential oils like Lavender, Cedarwood, and Royal Hawaiian Sandalwood™, these diffuser-ready recipes will lend a calming, grounding aroma to your spa experience.
Or skip the extra step of mixing different essential oils and choose from one of Young Living’s signature blends instead. Try options like Citrus Fresh™, Joy™, or Peace & Calming®.

2. Dim the lights and cue the relaxing music.

Music and lighting set the tone for a luxurious start to your morning or lowkey spa night. Play soft, calming music to invite feelings of tranquility. Then dim or turn off the lights and use an essential oil diffuser, like the Lustre™ Artisan Diffuser or Aria® Ultrasonic Diffuser, to add soothing illumination to your space.

3. Take a steamy shower or bath infused with essential oils.

Ever wish you could bathe in your favorite essential oils? With these tips and tricks, you can! Learn which oils are safe for baths and how to whip up essential oil-infused suds for your soak.

.fusion-body .fusion-builder-column-1{width:50% !important;margin-top : 0px;margin-bottom : 20px;}.fusion-builder-column-1 > .fusion-column-wrapper {padding-top : 0px !important;padding-right : 0px !important;margin-right : 3.84%;padding-bottom : 0px !important;padding-left : 0px !important;margin-left : 3.84%;}@media only screen and (max-width:1024px) {.fusion-body .fusion-builder-column-1{width:100% !important;order : 0;}.fusion-builder-column-1 > .fusion-column-wrapper {margin-right : 1.92%;margin-left : 1.92%;}}@media only screen and (max-width:640px) {.fusion-body .fusion-builder-column-1{width:100% !important;order : 0;}.fusion-builder-column-1 > .fusion-column-wrapper {margin-right : 1.92%;margin-left : 1.92%;}}

Woman smelling Joy essential oil blend - Young Living Lavender Life Blog

.fusion-body .fusion-builder-column-2{width:50% !important;margin-top : 0px;margin-bottom : 20px;}.fusion-builder-column-2 > .fusion-column-wrapper {padding-top : 0px !important;padding-right : 0px !important;margin-right : 3.84%;padding-bottom : 0px !important;padding-left : 0px !important;margin-left : 3.84%;}@media only screen and (max-width:1024px) {.fusion-body .fusion-builder-column-2{width:100% !important;order : 0;}.fusion-builder-column-2 > .fusion-column-wrapper {margin-right : 1.92%;margin-left : 1.92%;}}@media only screen and (max-width:640px) {.fusion-body .fusion-builder-column-2{width:100% !important;order : 0;}.fusion-builder-column-2 > .fusion-column-wrapper {margin-right : 1.92%;margin-left : 1.92%;}}

.fusion-body .fusion-flex-container.fusion-builder-row-2{ padding-top : 0px;margin-top : -3%;padding-right : 0px;padding-bottom : 0px;margin-bottom : 0px;padding-left : 0px;}

If you don’t have time to DIY, reach for Lavender Calming Bath Bombs or Stress Away™ Relaxing Bath Bombs for a burst of aroma that will soothe your senses.

Not a bath person? Try our Easy Breeze™ Awakening or Citrus Fresh™ Energizing shower steamers to make your morning routine extra refreshing.

4. Give your skin some love by exfoliating and moisturizing.

What’s a home spa day without skin care? Exfoliating removes dead skin cells and leaves your skin feeling fresh and soft. If itchy, dry skin is impeding your inner peace, follow these dry brushing techniques to achieve soft, irresistible skin. Follow up this home spa treatment with Poppy Seed Lip Scrub on your lips and our mint-scented Satin Facial Scrub™ for gentle facial exfoliation.

Next, seal in moisture with an oil massage or with your favorite body and face lotions. If you’re craving more intense hydration, you can apply a DIY CBD salve or Rose Ointment instead.

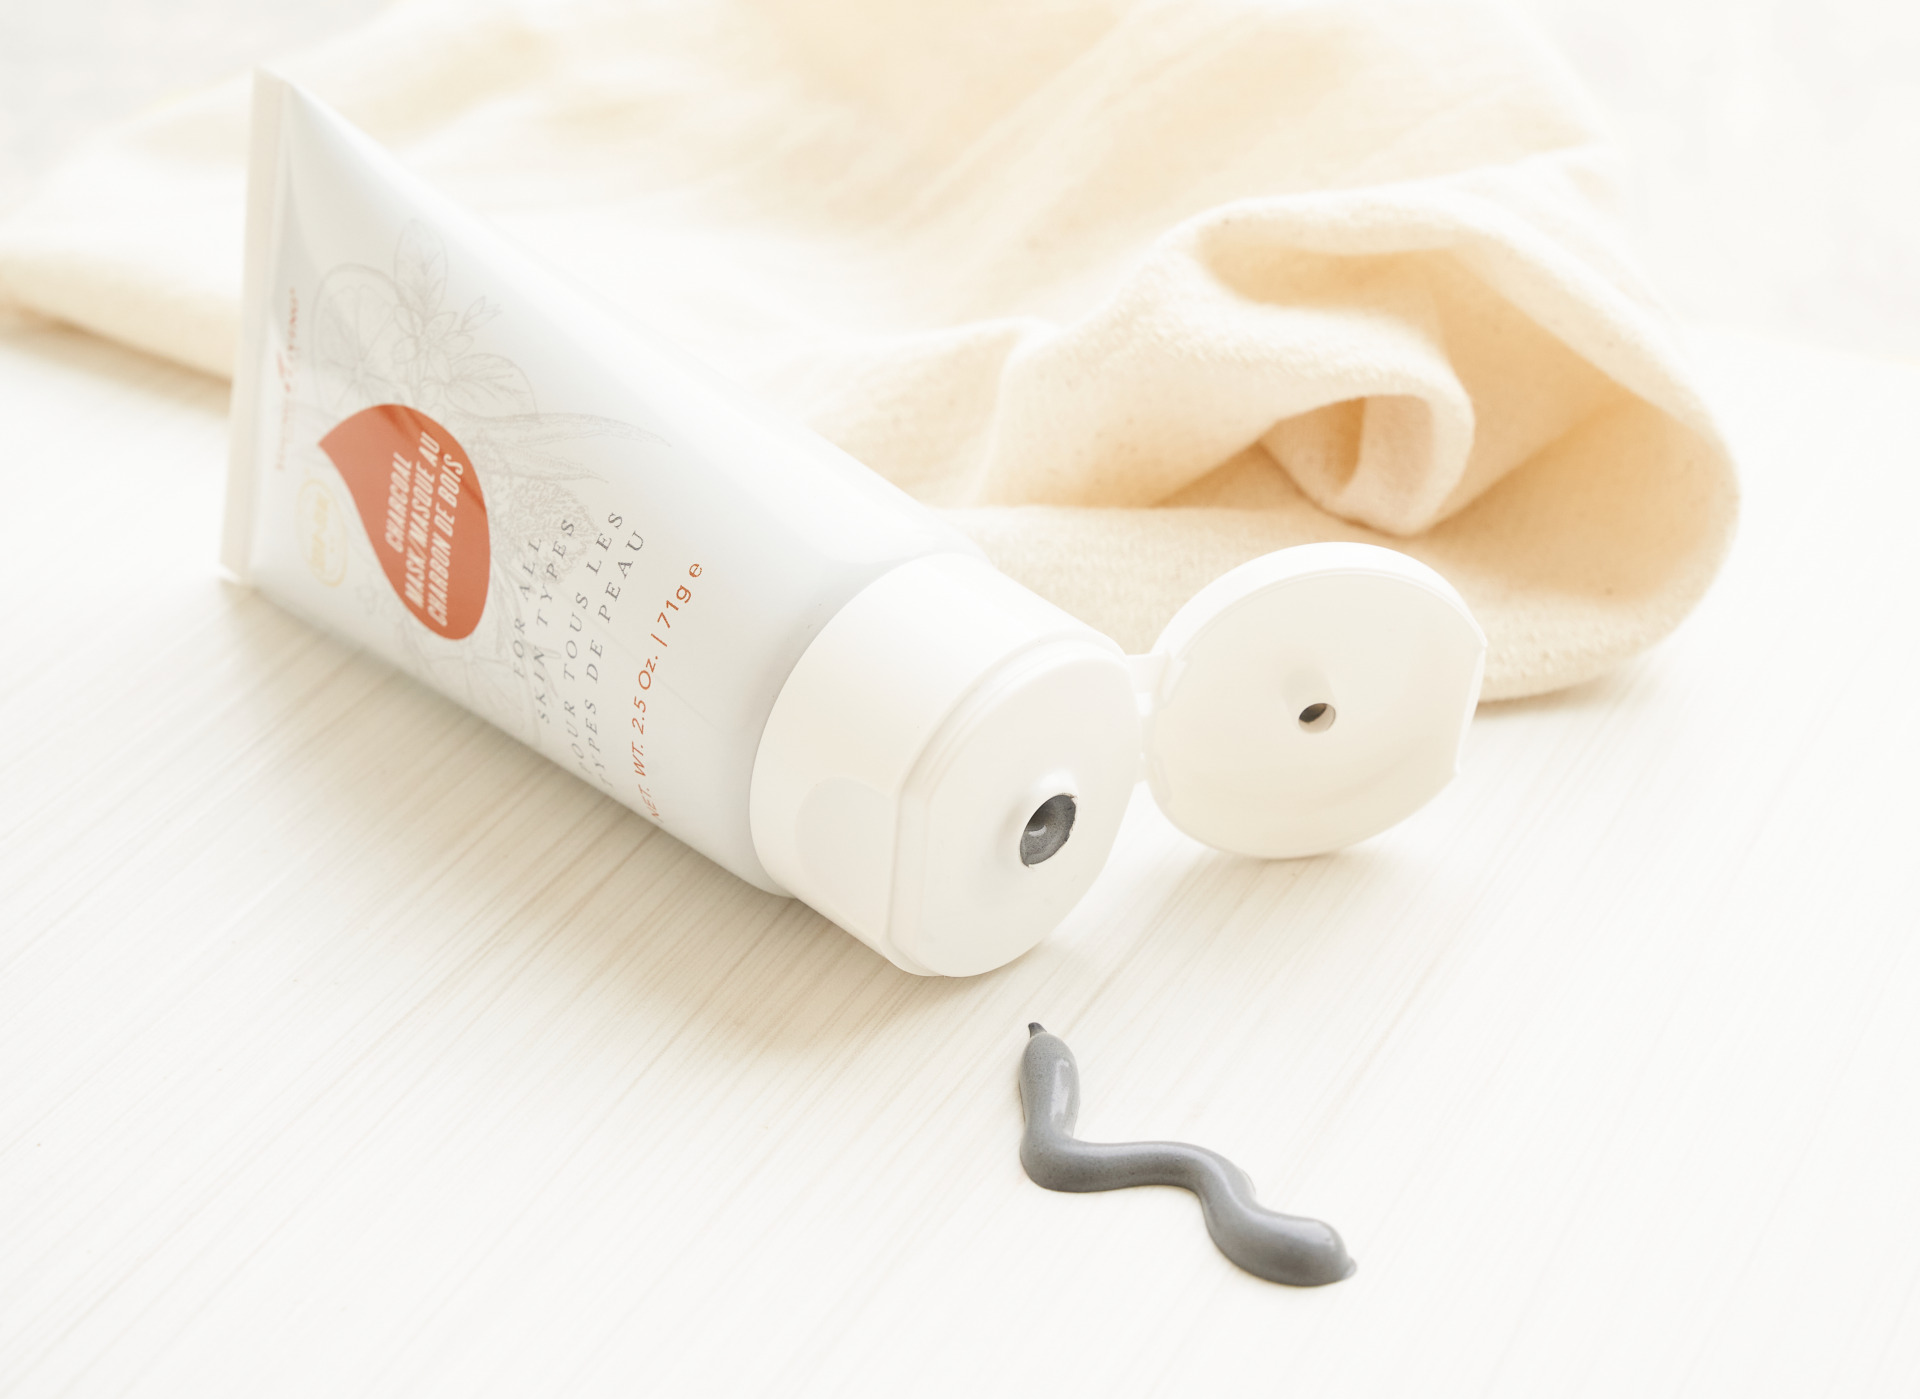
Charcoal Mask - Young Living Lavender Life Blog

5. Indulge in a face or hair mask.

Looking to detox your skin and clear out your pores? Check out our purifying Charcoal Mask. If your skin is in need of a fresh, nourishing boost, try our moisturizing ART® Beauty Masque.

Don’t forget to give your hair the same attention as your skin. Take this quiz to find out which DIY hair mask you should add to your pampering routine!

6. Enjoy a warm cup of tea or refreshing infused water.

There’s something about brewing a cup of tea that feels calming and meditative. If you love sweet, herbaceous teas, try our Vanilla Lemongrass Tea. It’s infused with just enough caffeine to kick off your day. For an evening treat, our Spiced Turmeric Herbal Tea is the perfect comforting blend.

If you prefer refreshing, cold hydration, add ice to your steeped tea to cool it or use your favorite Vitality™ oils to create mouthwatering, hydrating infusions.

Want more home spa ideas? Turn up the relaxation with this step-by-step guide to aromatherapy massage or learn how to throw a “spaw” day for your furry friends here.

What are your favorite ways to create a spa moment at home?

.fusion-body .fusion-builder-column-3{width:100% !important;margin-top : 0px;margin-bottom : 20px;}.fusion-builder-column-3 > .fusion-column-wrapper {padding-top : 0px !important;padding-right : 0px !important;margin-right : 1.92%;padding-bottom : 0px !important;padding-left : 0px !important;margin-left : 1.92%;}@media only screen and (max-width:1024px) {.fusion-body .fusion-builder-column-3{width:100% !important;order : 0;}.fusion-builder-column-3 > .fusion-column-wrapper {margin-right : 1.92%;margin-left : 1.92%;}}@media only screen and (max-width:640px) {.fusion-body .fusion-builder-column-3{width:100% !important;order : 0;}.fusion-builder-column-3 > .fusion-column-wrapper {margin-right : 1.92%;margin-left : 1.92%;}}

.fusion-body .fusion-flex-container.fusion-builder-row-3{ padding-top : 0px;margin-top : -1.25%;padding-right : 0px;padding-bottom : 0px;margin-bottom : 0px;padding-left : 0px;}

The post 6 steps to a DIY spa day appeared first on Young Living Blog.

Source link

Source: https://www.flyingtrav.com/health/6-steps-to-a-diy-spa-day/